Secondary Dominants on Guitar: Progressions & Examples
By Masashi Y.
“I thought this was in C major — so why does A7 show up?” “I keep seeing non-diatonic chords in charts but I don’t understand their meaning.”
Once you’ve mastered diatonic chords (see the diatonic chord guide), the next wall guitarists hit is secondary dominants.
This article reframes secondary dominants as “a temporary V7 aimed at each diatonic chord,” organized through the lens of tritone resolution and half-step voice leading. Once you see it this way, every secondary dominant is just a copy-and-paste of the basic V7 → I motion onto a different target.
Diatonic Refresher
What Are Diatonic Chords?
Diatonic chords are the seven chords built using only the notes of a key’s scale (for C major: C-D-E-F-G-A-B). These seven function as the “natural-sounding” chord set within that key:
| Degree | Chord | Function |
|---|---|---|
| I | Cmaj7 | Tonic (T) |
| IIm7 | Dm7 | Subdominant (SD) |
| IIIm7 | Em7 | Tonic substitute (T) |
| IVmaj7 | Fmaj7 | Subdominant (SD) |
| V7 | G7 | Dominant (D) |
| VIm7 | Am7 | Tonic substitute (T) |
| VIIm7♭5 | Bm7♭5 | Dominant substitute (D) |
Three Functions — T / SD / D
Diatonic chords roughly split into three functional roles:
- Tonic (T): the stable landing point — the song’s “home”
- Subdominant (SD): movement away from T, setting up the next direction
- Dominant (D): strong tension and a pull back to T
The balance between these three functions shapes the flow of chord progressions (for details, see the full diatonic guide).
Why Does G7 Want to Resolve to Cmaj7?
G7 contains a tritone (augmented 4th) between its 3rd (B) and ♭7 (F). A tritone is the most unstable interval in Western music and generates a strong “want to resolve somewhere” pull. Those two notes each move by a half step into Cmaj7’s chord tones, producing the powerful landing feel (for more on tritones, see the tritone substitution guide).
G7 is the only diatonic chord that functions as a V7 for Cmaj7. The idea behind secondary dominants is simple: copy this V7 → I resolution and borrow it for other diatonic chords too.
What Is a Secondary Dominant?
Why Use Them — Adding “Direction” to Diatonic Progressions
A progression built purely from diatonic chords sounds cohesive within the key, but it has a weakness: the only strong pull is V7 → I (G7 → Cmaj7) — just one type of resolution. Any chord can connect to any other “smoothly,” but you can’t create a strong pull toward any chord other than Cmaj7.
A secondary dominant is a technique that copies “V7 → I’s strong resolution” and applies it to other diatonic chords.
- Standard II-V-I: Dm7 → G7 → Cmaj7 (smooth but gentle)
- With V7/II inserted: A7 → Dm7 → G7 → Cmaj7 (A7 strongly pulls toward Dm7)
A7 isn’t originally part of C major (it contains C♯), but by acting as a temporary V7 for Dm7, it spotlights Dm7 as a landing point. The progression gains motion and direction, pulling the listener naturally from one chord to the next.
This is why secondary dominants are so common across jazz, pop, and film music — anywhere you want to add motion and color to chord progressions.
Definition and Notation
A secondary dominant is a dominant 7th chord placed in front of any diatonic chord, treating that chord as a “temporary I.”
- V7 of Cmaj7 = G7 (this is the original diatonic V)
- V7 of Dm7 = A7 (A is a perfect 5th above D) → this is V7/II
- V7 of Em7 = B7 → V7/III
- V7 of Fmaj7 = C7 → V7/IV
- V7 of G7 = D7 → V7/V
- V7 of Am7 = E7 → V7/VI
The notation “V7/II” reads as “V7 of II” — “the dominant aimed at Dm7.”
Notice that VIIm7♭5 doesn’t get a secondary dominant. The whole technique treats the target as a “temporary I (tonic),” but m7♭5 chords don’t have a perfect 5th (it’s a diminished 5th = a tritone), so they can’t sound stable as a landing point — they can’t play the “temporary I” role. On top of that, VIIm7♭5 itself already functions as a dominant substitute, so it’s not a target for this technique.
Position on the Circle of Fifths
Every secondary dominant is ”a dominant 7th a perfect 5th above its target” — on the circle of fifths, this shows up as “one step clockwise from the target” (equivalently, the V7 → X resolution is “one step counterclockwise back”).
Laying out C major’s diatonic chords alongside their secondary dominants:
| Target | Position on circle | One step clockwise = V7/X |
|---|---|---|
| Cmaj7 (I) | C | G7 (diatonic V) |
| Dm7 (II) | D | A7 (V7/II) |
| Em7 (III) | E | B7 (V7/III) |
| Fmaj7 (IV) | F | C7 (V7/IV) |
| G7 (V) | G | D7 (V7/V) |
| Am7 (VI) | A | E7 (V7/VI) |
You don’t need to memorize each secondary dominant individually. “V7/III = B7” simply means “one step clockwise from E is B” — it’s nothing more than a geometric relationship on the circle. Secondary dominants that look intimidating at first become mechanically derivable just by visualizing the circle.
Common Secondary Dominant Progressions
With the geometry of the circle in mind, let’s look at the progressions you’ll actually see. All examples are in C major.
I - V7/II - IIm - V - I (replacing VIm in the I-VI-II-V turnaround)
The most common pattern — take the classic I-VI-II-V turnaround and swap the VIm (Am7) for V7/II (A7). It shows up constantly in jazz, bossa nova, and pop.
- Example: Cmaj7 → A7 → Dm7 → G7 → Cmaj7
A7 strongly pulls toward Dm7, sharpening the II-V-I landing.
Cmaj7
A7
Dm7
G7
Cmaj7
I - V7/V - V - I (Double Dominant)
V7/V placed just before V — often called the ”Double Dominant.”
- Example: Cmaj7 → D7 → G7 → Cmaj7
Common in pop right before the second chorus, and in classical cadences. D7 heightens G7, intensifying the final landing on I.
Cmaj7
D7
G7
Cmaj7
I - V7/IV - IV - IVm - I
A temporary dominant V7/IV pulling into IV, paired with the subdominant-minor IVm.
- Example: Cmaj7 → C7 → Fmaj7 → Fm → Cmaj7
C7’s B♭ (a note outside the key) strongly anticipates Fmaj7’s F and A, and the following Fm adds a bittersweet color — a staple pop progression.
Cmaj7
C7
Fmaj7
Fm
Cmaj7
Tensions Over Secondary Dominants
The tensions you add to a secondary dominant V7/X (9ths, 13ths, and so on) depend on whether the target X is a major-quality or minor-quality chord.
Major Target — Natural Tensions (9, 13)
When the target has a major-quality 3rd, natural 9 and 13 sit comfortably on the V7. These are notes contained in the target’s major scale, so the hand-off to the next chord stays smooth.
- V7/I (G7 → Cmaj7): G7 + 9 (A), 13 (E) → G13
- V7/IV (C7 → Fmaj7): C7 + 9 (D), 13 (A) → C13
- V7/V (D7 → G7): D7 + 9 (E), 13 (B) → D13
G7
G9
G13
Minor Target — Altered Tensions (♭9, ♭13)
When the target has a minor-quality 3rd, ♭9 and ♭13 become characteristic. These come from the target’s harmonic minor scale, producing the bittersweet, “exotic” color typical of minor resolutions.
- V7/II (A7 → Dm7): A7 + ♭9 (B♭), ♭13 (F) → A7(♭9, ♭13)
- V7/III (B7 → Em7): B7 + ♭9 (C), ♭13 (G) → B7(♭9, ♭13)
- V7/VI (E7 → Am7): E7 + ♭9 (F), ♭13 (C) → E7(♭9, ♭13)
In jazz, ♯9 (a bluesier color) is often stacked together with ♭9 and ♭13, producing rich voicings like 7(♭9, ♯9, ♭13) (note that ♭9 and natural 9 clash by a half step, so they aren’t combined in the same voicing).
A7
A7(♭9)
A7(♭13)
A7(♭9,♭13)
Scales Over Secondary Dominants
For solos or melodies over V7/X, the scale choice follows the same logic as tension selection — whether the target is major-quality or minor-quality determines the first choice.
Major Target — Mixolydian
The 5th mode of the target’s major scale = Mixolydian is the basic choice. It contains the natural 9 and 13 we just discussed, so it lines up perfectly with the tension choices above.
- V7/I (G7 → Cmaj7): G Mixolydian (= C major scale)
- V7/IV (C7 → Fmaj7): C Mixolydian (= F major scale)
- V7/V (D7 → G7): D Mixolydian (= G major scale)
For more intensity, even on major-resolving V7s, jazz players regularly use altered scale (7th mode of melodic minor) or combination diminished (HW) over the V7 before resolving to Imaj7 — a jazz cliché. Note that Lydian ♭7 is for non-resolving dominants (tritone subs, IV7, ♭VII7, etc.); over a V7 that resolves up a perfect 4th, the ♯11 clashes with the target’s 5th, so it’s not typically used.
Minor Target — Phrygian Dominant
The 5th mode of the target’s harmonic minor = Phrygian Dominant is the first choice. In jazz theory, this is also called HmP5↓ (Harmonic Minor Perfect 5th Below) or Mixolydian ♭9♭13 — same notes, different names. It naturally contains ♭9 and ♭13, giving minor resolutions their characteristic bittersweet color.
- V7/II (A7 → Dm7): A Phrygian Dominant (= 5th mode of D harmonic minor)
- Notes: A, B♭, C♯, D, E, F, G
- V7/III (B7 → Em7): B Phrygian Dominant (= 5th mode of E harmonic minor)
- V7/VI (E7 → Am7): E Phrygian Dominant (= 5th mode of A harmonic minor)
For even stronger tension, altered scale (7th mode of melodic minor — contains ♭9, ♯9, ♯11, ♭13) and combination diminished (HW — features ♭9 and ♯9 together) are also options.
Deceptive Cadence — Resolutions That Betray Expectations
V → I resolution is powerful, but there’s also a technique for deliberately redirecting the resolution elsewhere. This is called a deceptive cadence — “make the listener expect a resolution, then land on a different chord” — and it introduces a pleasant note of surprise.
Basic Form: V → VIm
The most famous deceptive cadence is the diatonic V → VIm. In C major, that’s G7 → Am7.
The ear expects Cmaj7, but instead lands on the tonic substitute Am7, creating a “resolved but not quite” suspended feeling. Am7 shares three notes (C, E, G) with Cmaj7, so the guide-tone motion is minimal and the transition feels natural.
Cmaj7
Dm7
G7
Am7
How to Pick the “Substitute” Target — Tonic Substitutes and Guide Tones
Deceptive cadences redirect the V7 resolution “away from the expected I” — but you can’t redirect it just anywhere. Two things make a deceptive cadence work:
1. The substitute shares many notes with the target (a “tonic substitute”)
Am7 is the go-to substitute for G7 → Cmaj7 because Cmaj7 and Am7 share three notes (C-E-G). The more notes in common, the more the “direction of resolution” stays intact. Key substitute relationships in C major:
- Cmaj7 (I) ↔ Am7 (VIm): share C-E-G (I’s tonic substitute)
- Cmaj7 (I) ↔ Em7 (IIIm): share E-G (another tonic substitute)
- Dm7 (IIm) ↔ Fmaj7 (IVmaj7): share F-A-C — the A7 deceptive cadence below uses this relationship
2. V7’s guide tones still resolve to the same notes
G7’s guide tones are B (3rd) and F (♭7). These resolve to the exact same notes whether going to Cmaj7 or Am7:
- G7 → Cmaj7: B → C, F → E
- G7 → Am7: B → C (Am7’s C), F → E (Am7’s E)
Guide tone motion is identical — the only thing that changes is the bass (C vs. A). The listener’s ear hears “resolution,” but the bass lands somewhere unexpected, leaving that “wait, what?” aftertaste — that’s the mechanism behind deceptive cadences.
Once you grasp this, the secondary-dominant deceptive cadences below fit the same framework: redirect V7/X’s resolution to X’s tonic substitute (a chord sharing many notes with X).
Deceptive Cadences with Secondary Dominants
The same trick transfers directly to secondary dominants. V7/X resolves not to X but to a close relative of X that shares many notes with it.
- A7 (V7/II) → Fmaj7: the pull toward Dm7 gets redirected to Fmaj7 (Dm7’s tonic substitute — Dm7 and Fmaj7 share F, A, C)
Cmaj7
A7
Fmaj7
- E7 (V7/VI) → Fmaj7: the listener expects Am7 but lands a half step up on Fmaj7 (the V → ♭VI deceptive cadence in A minor)
Cmaj7
E7
Fmaj7
“Set up a strong expectation of V7/X → X, then slip sideways to a neighbor chord at the last moment” — this is where musical aftertaste and unpredictability come from.
Where to Use Them
- Right before a song’s ending, to create a “not quite done yet” hangover
- In long loops, to break up monotony by inserting a deceptive cadence partway through
- At the entrance to a chorus, setting up and then deflecting expectation before landing on the real tonic
Deceptive cadences only work because the listener is predicting V → I. With the V7 → I basics we’ve covered here, this is one level up — deliberately subverting the expectation you’ve already built.
Secondary Dominants and Tritone Substitution
Because secondary dominants are dominant 7th chords, they can be swapped directly for their tritone substitutes.
- A7 (V7/II) → its tritone sub E♭7
- D7 (V7/V) → its tritone sub A♭7
These open up progressions with chromatically descending bass lines, like:
Cmaj7 → E♭7 → Dm7 → D♭7 → Cmaj7 (E♭ → D → D♭ → C)
Cmaj7
E♭7
Dm7
D♭7
Cmaj7
Combined with tritone substitution, secondary dominants unlock a much wider palette than when used alone.
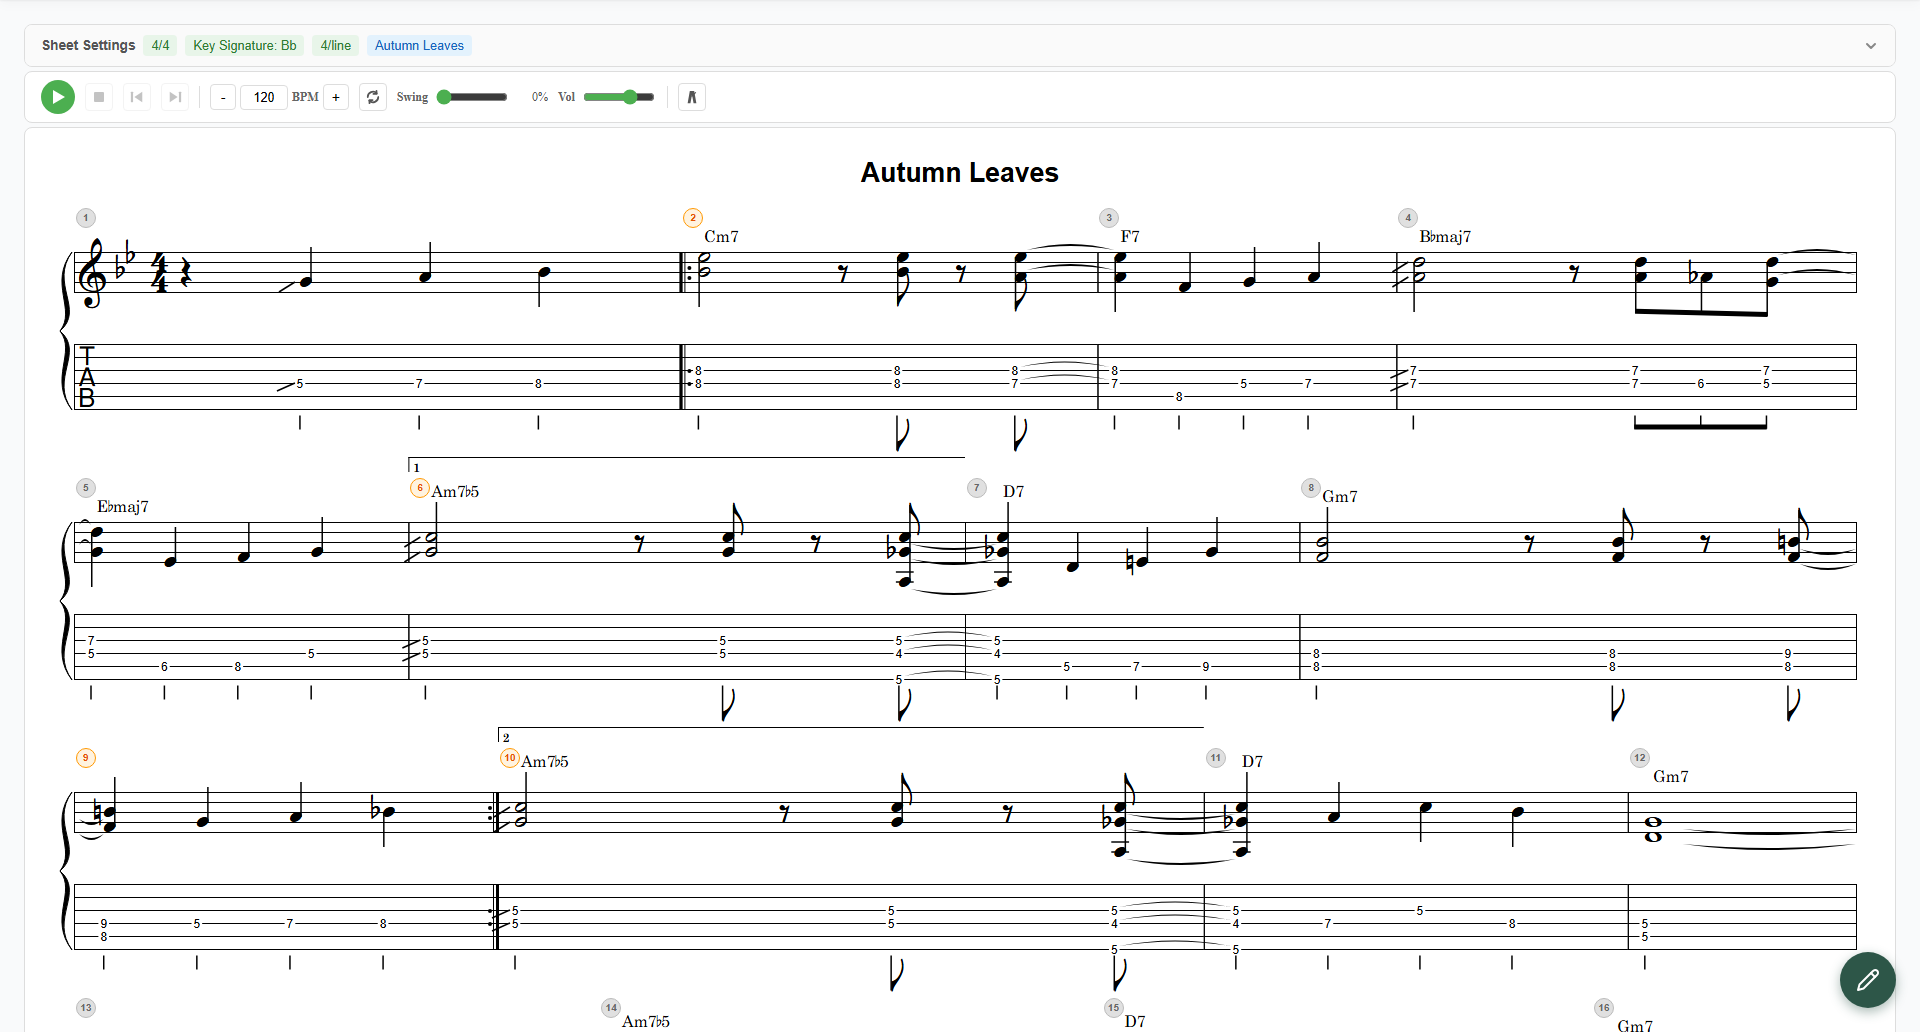
Pull Up Any Dominant 7th Instantly in notave
notave handles non-diatonic dominant 7ths like A7, B7, C7, D7, and E7 just like any other chord — giving you voicing options instantly.
- Compare every secondary dominant pattern with Drop 2, shell, and guide-tone voicings
- Enter surrounding chords and get voicings with smooth voice leading
- Export to TAB and staff notation, with audio playback to check the sound
It’s the shortest path to training your ears and hands on the sound of V7/II, V7/V, and the rest.
No installation required, and free to try right now.