“I want to show this riff’s TAB on my blog.” “I’d like to put today’s progression right on my lesson site.” “I want to walk through a sheet on my own website.”
Putting a sheet on a web page usually means taking a screenshot and pasting it as an image. But a screenshot can come out low-res — the TAB numbers get hard to read — and a wide sheet shrinks until it’s cramped. To actually read well, you’d want something better.
With notave’s embed feature, you can put a sheet on your blog or website as the real sheet itself — not an image. Readers just open the page and see crisp staff notation, TAB, and chords as-is. Here’s how to grab the embed code, paste it in, and what to watch out for.
What is a notave embed?
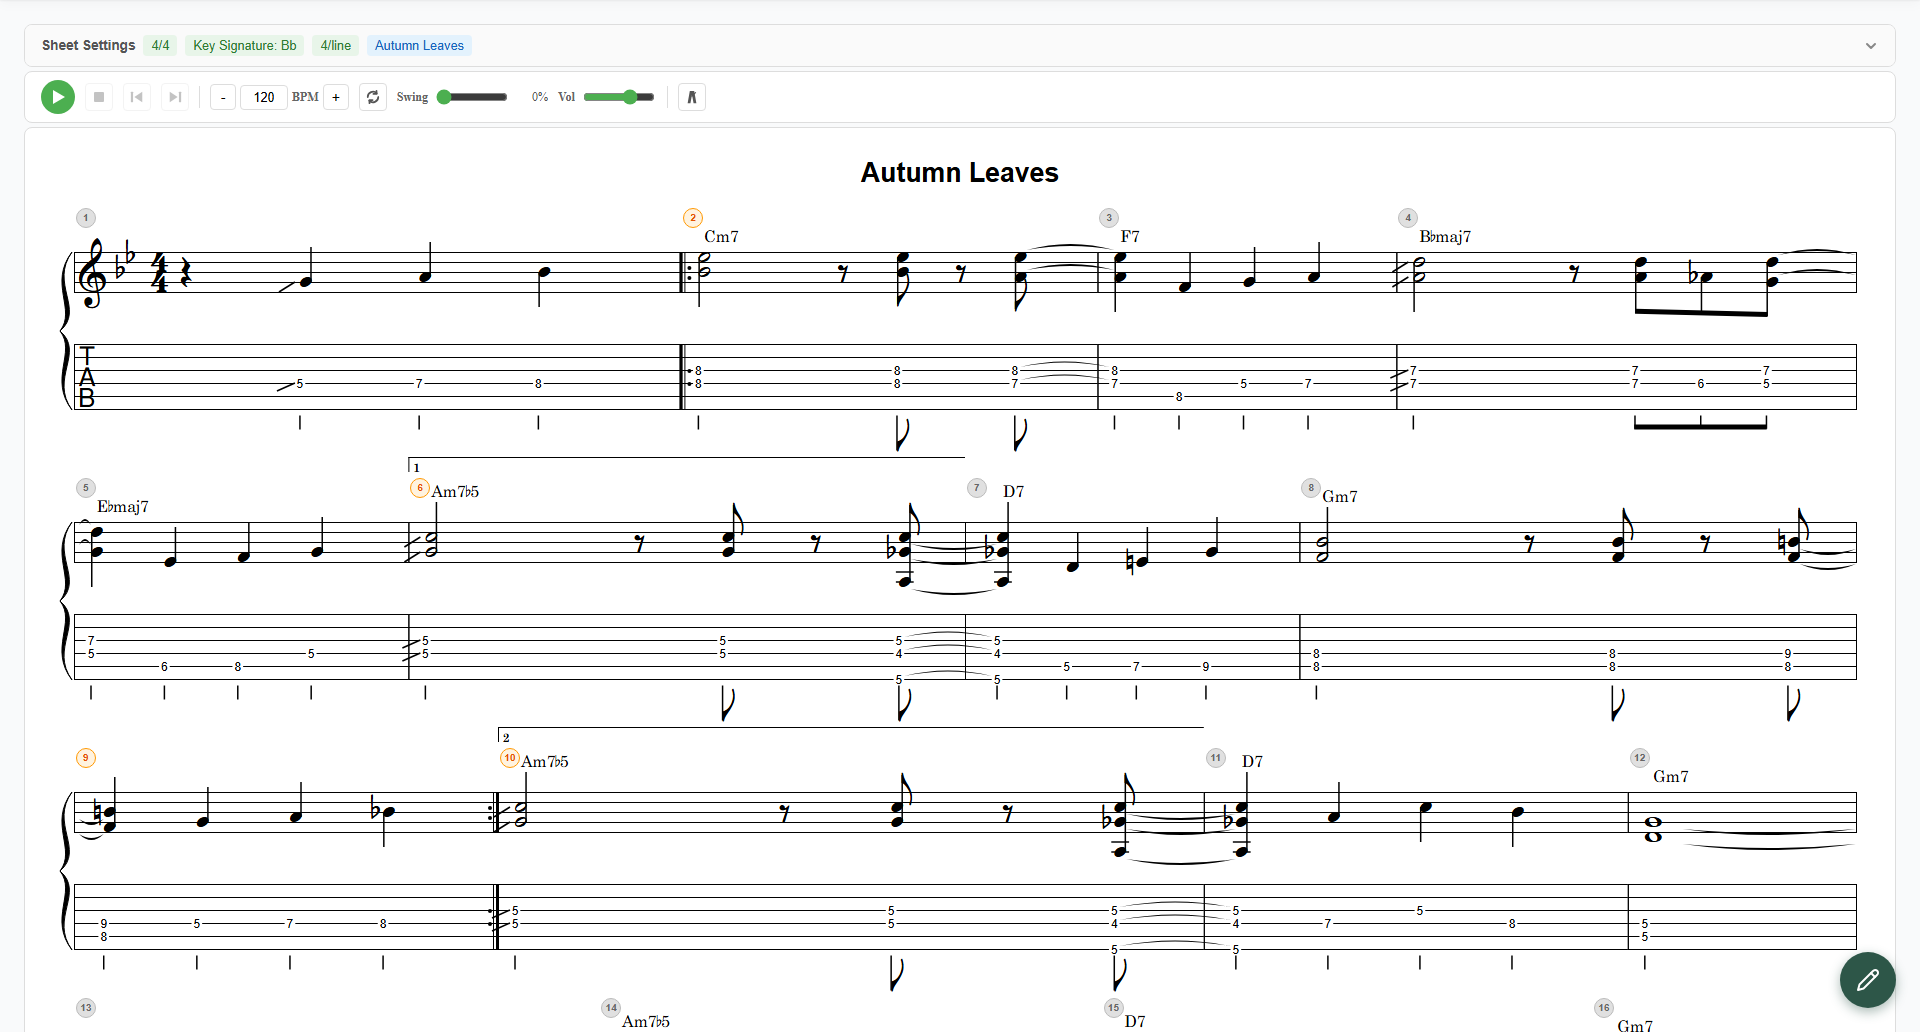
An embed puts a sheet you made right inside a web page. Below is a live example — not an image, but an actual notave sheet running on this page.
This sheet is embedded right into this article’s page. Press play to hear it, move the capo, or toggle the interval (degree) display — right here on the page.
The key is the same mechanism as a Share Link: the sheet data is embedded in the URL itself. Nothing is stored on a server somewhere. Because of that —
- readers see it with no login and no install
- unlike an image, readers can interact with it right there — play it back, move the capo, toggle the interval display
- it renders crisp and sharp instead of going mushy like a screenshot
- the data lives in the URL, so there’s little risk of a broken link, and it loads light
Unlike a screenshot or a PDF, an embed shows the real sheet right on the page — that’s its biggest advantage.
Getting the embed code (3 steps)
1. Create or open a sheet
Make the sheet you want to embed in notave, or open an existing one. A simple chord progression or a fully arranged TAB both work.
2. Open the “Embed” tab in the share dialog
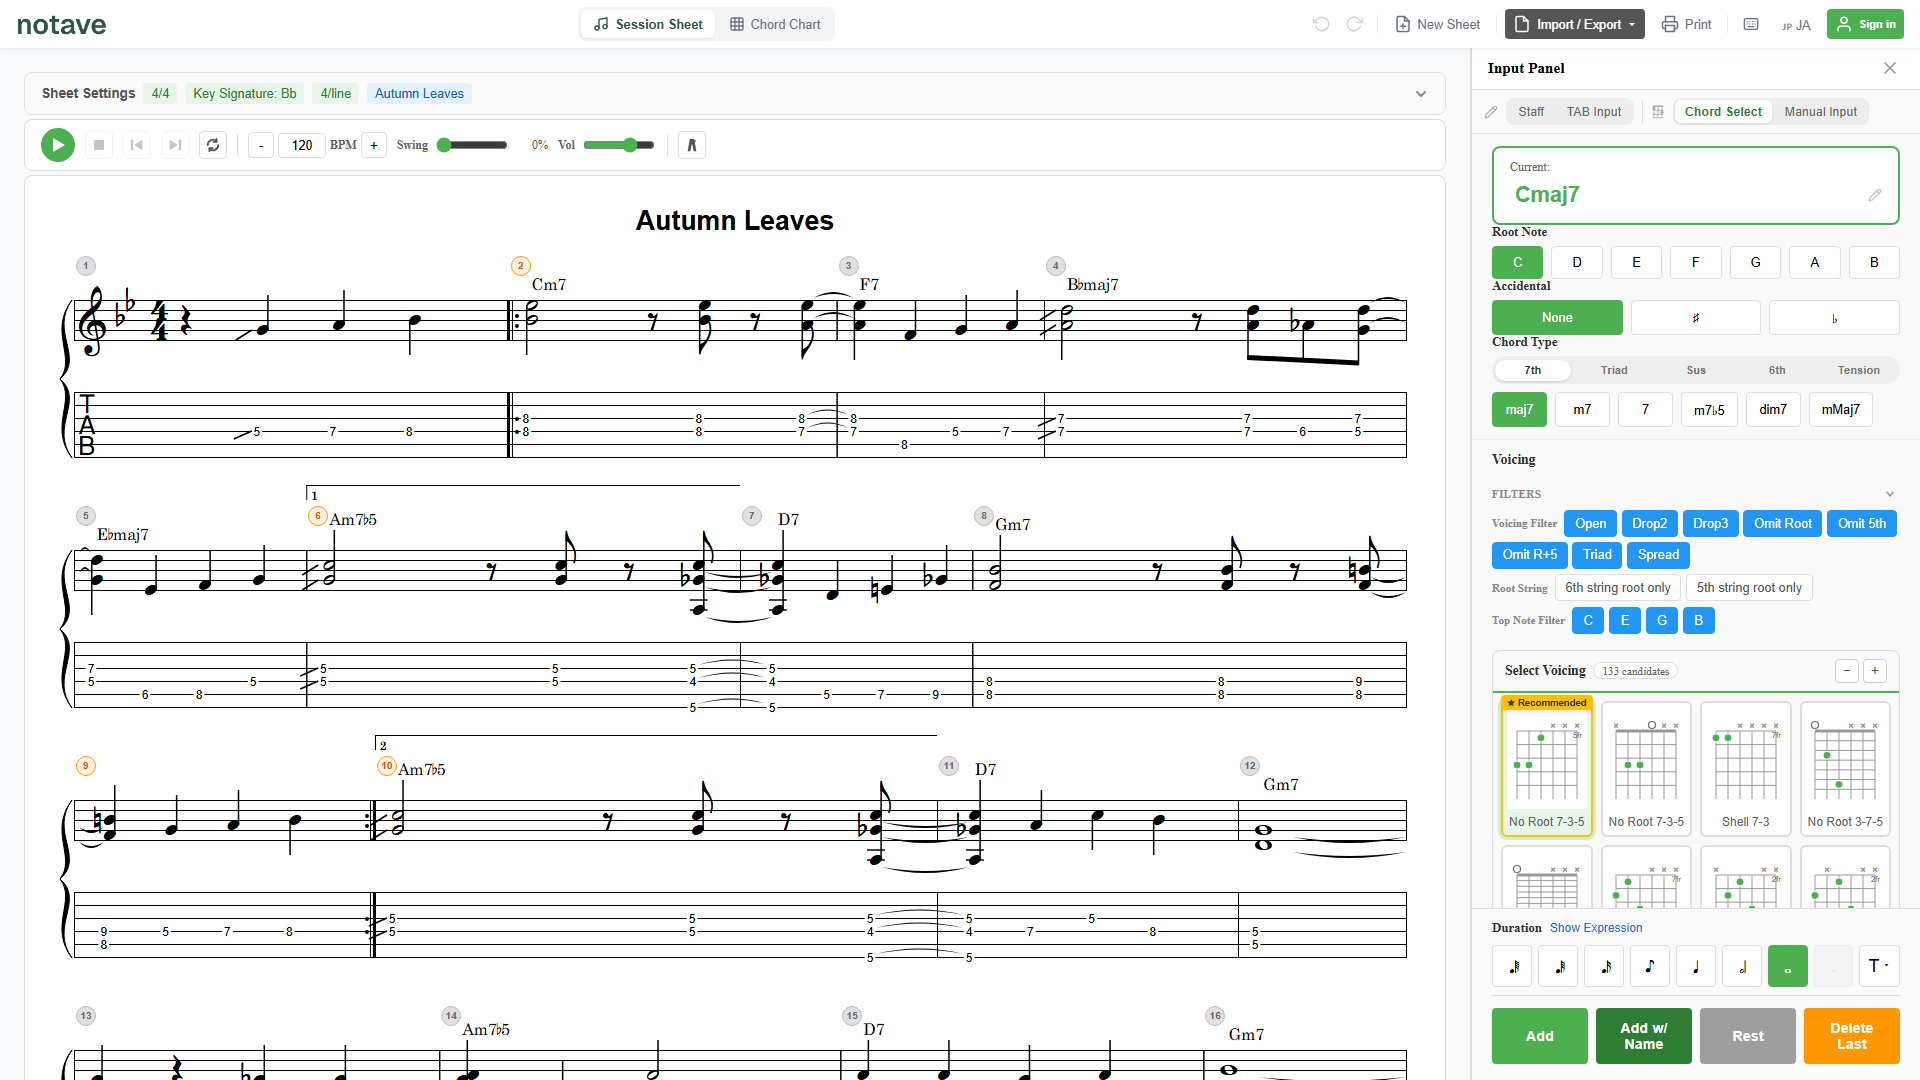
Open the “Share this sheet” dialog and switch from “Link” to the “Embed” tab. notave shows the embed code — HTML that starts with <iframe ...> — to display that sheet on a page.
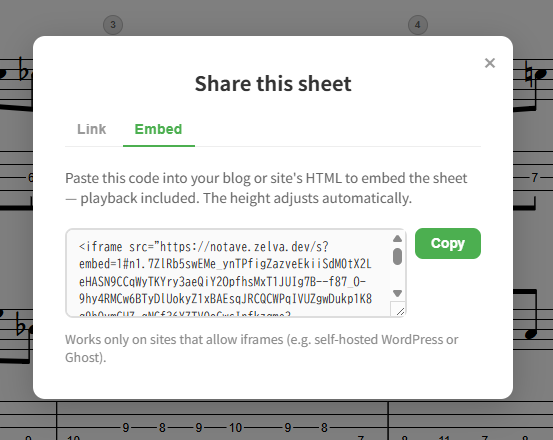
3. Copy the embed code and paste it
Hit “Copy” and paste the embed code into your blog or website’s HTML. The height adjusts automatically, so you don’t need to fuss with sizing. Wherever you paste it, the sheet appears just like the example above.
Where can you paste it?
The embed code is <iframe> HTML. It works on sites that allow iframe embeds — for example:
- Self-hosted WordPress: paste the code into a “Custom HTML” block.
- Ghost: paste the code into an HTML card.
- Your own website: paste it wherever you like in your HTML.
What about note and services that don’t allow iframes? Some services — like note — don’t allow arbitrary iframe embeds (common with hosted blog platforms), so the embed code won’t work as-is. In that case, paste the Share Link URL into your post instead and let readers open the sheet from the link.
Embed vs. Share Link
notave gives you two ways to hand off a sheet. Pick by what you’re doing:
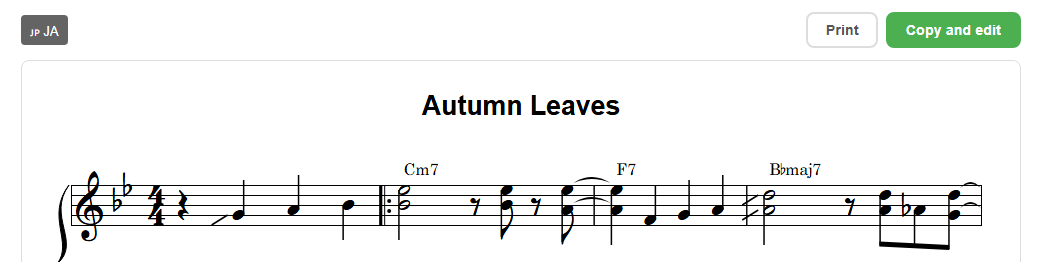
- Share Link: a URL to hand to a person to view. They can view, print, switch language, and “Copy & Edit” to continue it as their own. Great for handing out in lessons, or for bands and social media.
- Embed: a way to display a sheet inside a web page. Great for showing it to many readers at once — blog posts, lesson sites, and the like.
In short: Share Link to hand it to a person, embed to put it on a page.
Summary
notave’s embed feature shows a finished sheet on a web page as the real sheet — not an image.
- From the “Embed” tab of the “Share this sheet” dialog, copy the embed code
- Paste it on any site that allows iframes — self-hosted WordPress, Ghost, your own site
- Readers get a crisp, interactive sheet — playback, capo, interval toggle — with no login and no install
Make a sheet and paste the embed code. At notave.zelva.dev there’s no sign-up and no install — you can start right now.
And if you want to hand a sheet to one person, see how to use Share Links.