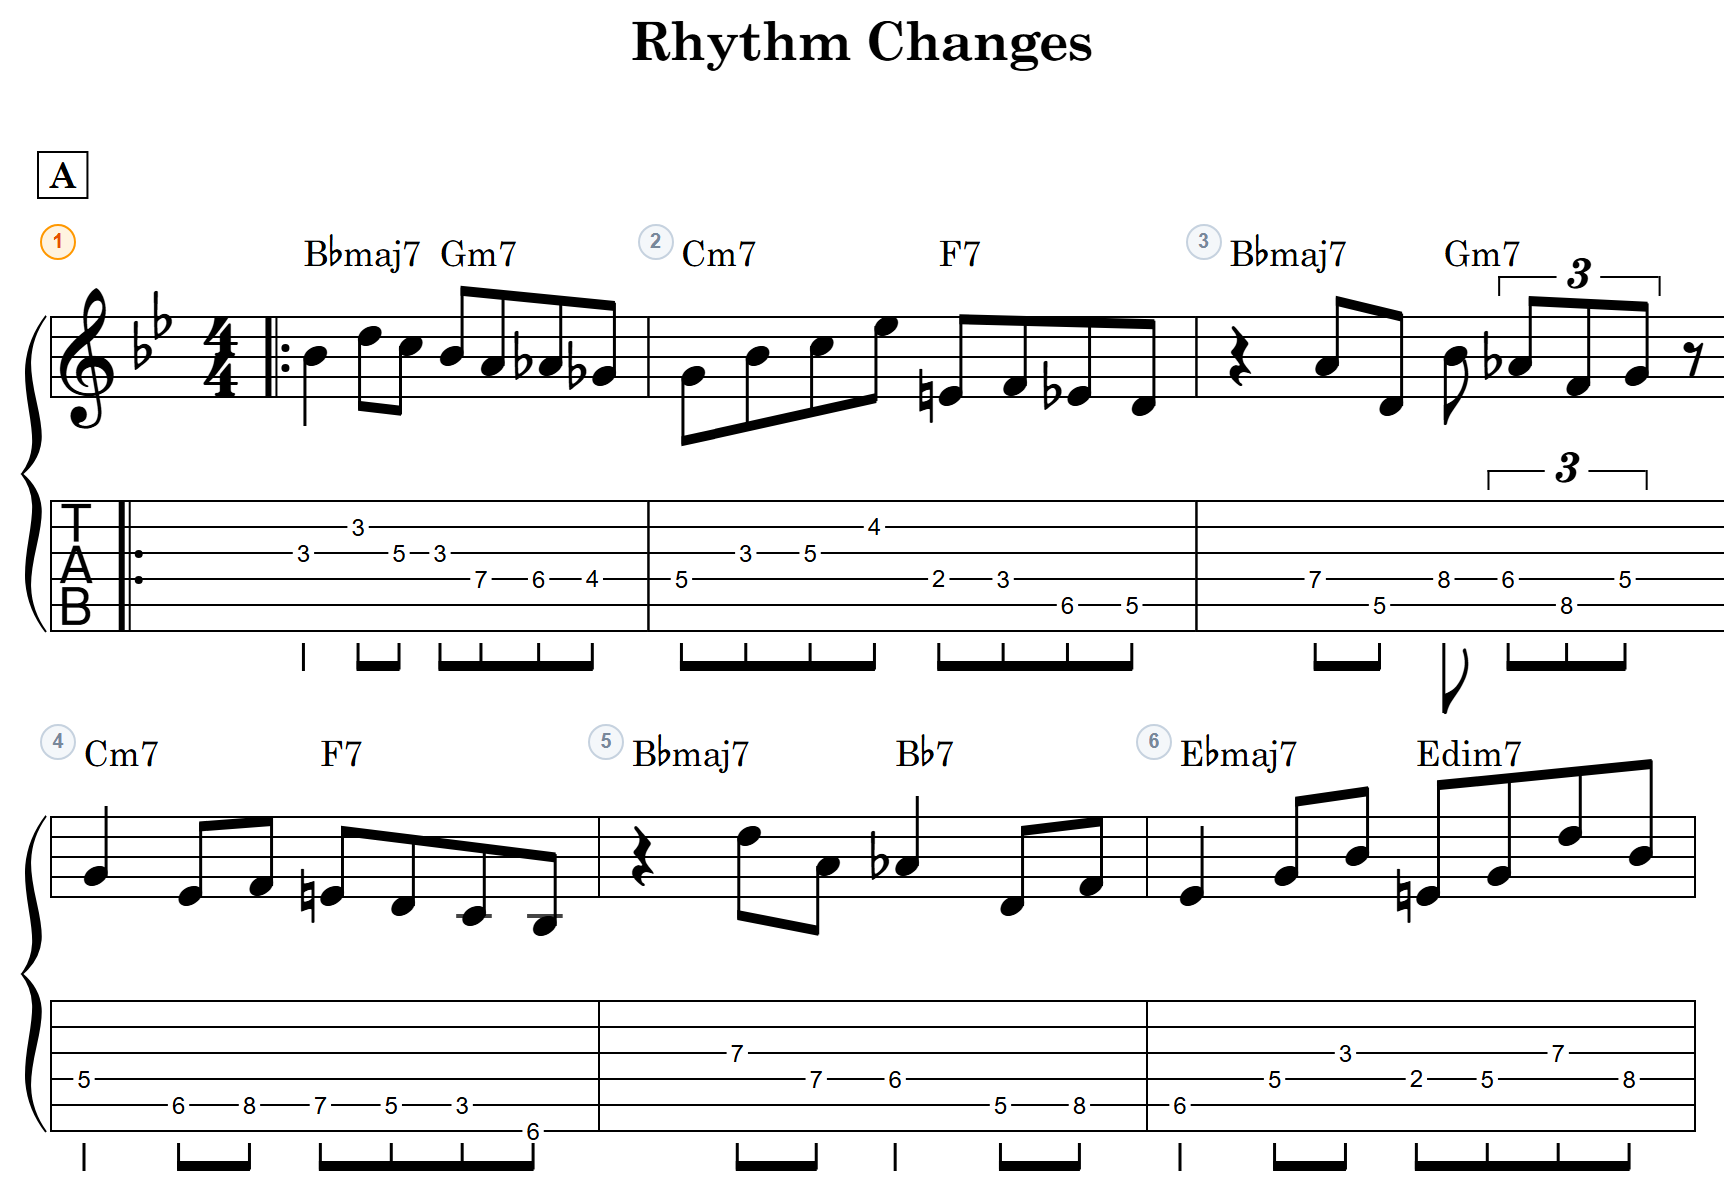
“This classical guitar collection is standard notation only.” “I want to play this piano phrase on guitar.” “I’d like to keep those old staff-paper sketches as TAB.”
Wanting to turn standard notation into TAB comes up more often than you’d think — yet most of what you find when you search is a manual walkthrough: compare each note against the fretboard and copy it out. This article covers three ways to do the conversion with nothing to install, entirely in the browser, sorted by the form your score is in.
First: the hard part of notation → TAB is the fingering
One thing about this conversion before the methods. The real work in turning standard notation into TAB isn’t reading the notes — it’s deciding which string and fret each note gets played on.
On guitar the same pitch is available in several places (a concert E4, for instance, is the open 1st string, the 2nd string at fret 5, or the 3rd string at fret 9). So converting by hand means judging, note by note, where to fret it — and keeping the positions consistent so the phrase stays connected. That’s where the time goes.
All three methods below hand that decision to the engine inside notave, a browser TAB editor. Give it the notes and the string/fret assignment comes back playable; where you disagree, you can cycle through the alternatives.
Method 1 — You have score data (MusicXML): drop it on the converter page
If the notation came out of MuseScore, Flat, or another notation app, this is the fastest route.
- Export from your notation app as MusicXML (.musicxml / .mxl)
- Open notave’s converter page and drag the file in
- The full TAB previews on the spot — no sign-in. Play it, print it, share it as a URL; and when you want to refine it, “Copy to edit” hands it to the editor
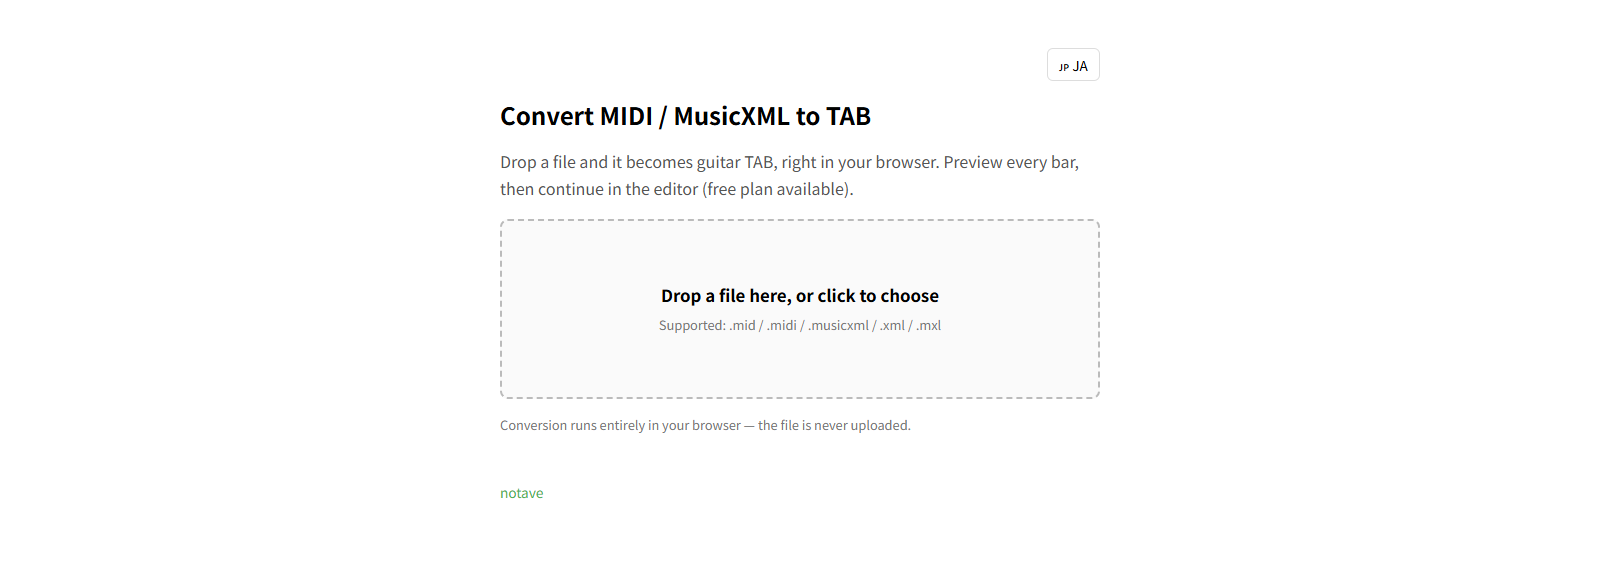
Conversion runs entirely inside your browser — the file is never uploaded to a server. Not just pitch but note values, chords, chord symbols, and mid-song time-signature changes carry across, and the whole score comes out as TAB with a fingering you can play.
When you want finer control over the import — picking the part, re-voicing chords — the editor’s MusicXML import is the place for that. The step-by-step is in Convert MusicXML to TAB.
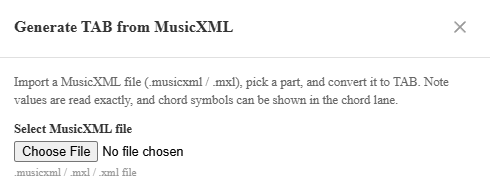
Even with a paper score only, you can combine steps: run it through a score-scanning app to get MusicXML, then send that down this route. (How well the scan comes out depends on the state of the original, so don’t skip checking the preview after import.)
Method 2 — Working from paper or a PDF: Staff Input mode, where you just place note names
If your notation is on paper or in an image and there isn’t a huge amount of it, entering it directly in Staff Input mode is the reliable option.
In this mode you place notes with the A–G keys. You never have to work out a fret number. Each time you place a note, notave proposes a fingering (shown like String 5, fret 3 (2/4)), and Tab cycles to another position. A general intent like “keep this around the 7th fret” goes in once via the “preferred position” slider.
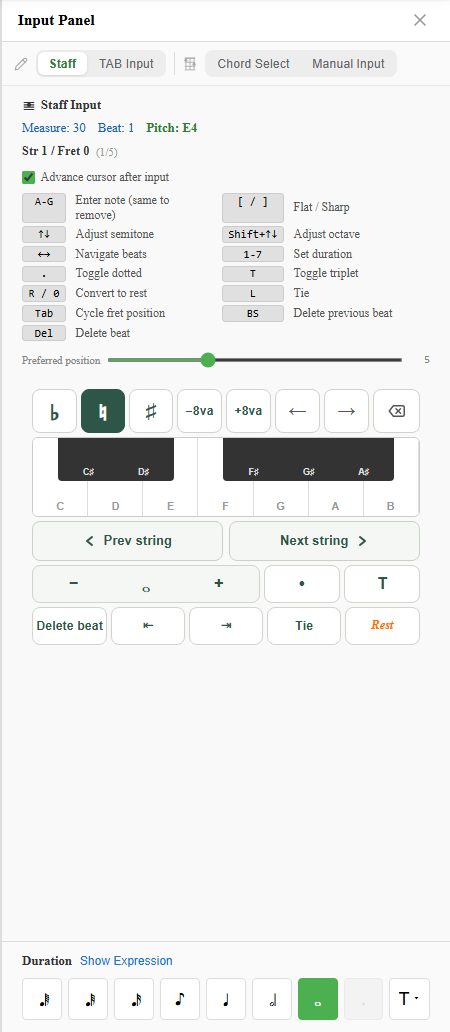
So the work is just “read the staff, type the note names,” and the genuinely hard part — the fingering — is notave’s job. For the controls in detail, see Using Staff Input mode.
Method 3 — The phrase started in a DAW: convert from MIDI
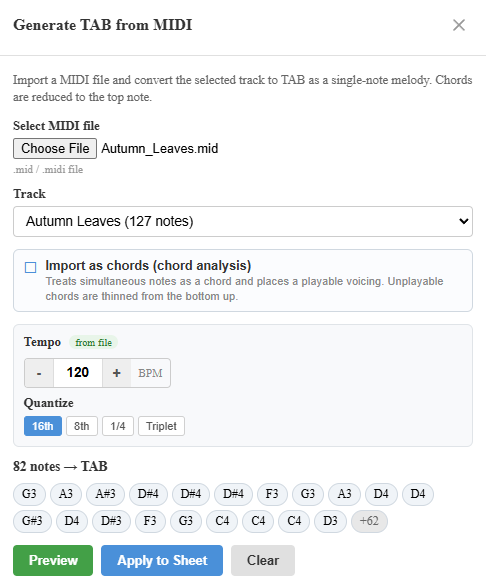
If the notation came from something you programmed, a MIDI file (.mid / .midi) is the shortcut. Same as method 1: drop it on the converter page and the whole thing previews as TAB with a playable fingering. For finer control — choosing the track, switching between melody and chord mode — use the editor’s MIDI import; the steps are in Convert MIDI to TAB.
What you can do with the result
Whichever of the three you used, the finished TAB stays workable in the browser.
- Play it back to check it by ear (with a metronome)
- Edit and adjust with staff and TAB shown together
- Print it, or export it as an image or video
- Share it with a single URL (the other person doesn’t need an account to view it)
Anywhere the fingering doesn’t match your hands, cycle that one note to another candidate. “Convert the whole thing automatically, then fix the few spots that bother you” is the fastest path.
For reference: how to think about it when converting by hand
For anyone who’d rather be able to do this without a tool, here’s what to go by working manually.
- Learn the layout of the fretboard: start from the open strings (E-A-D-G-B-E) and the notes at every 5th fret as your anchors
- Think in positions: instead of hunting for the best spot note by note, decide “this phrase lives at frets 5–8” first, then assign the notes
- Watch for the same pitch on different strings: the same note on another string has a different tone and a different reach — choose by how the phrase connects to the notes around it
These are, in fact, exactly what notave’s fingering engine does automatically. You can also convert by hand as practice, then check your answer against what notave proposes.
Summary
To convert standard notation to TAB, the shortcut is to pick the method that matches the form your score is in.
- You have MusicXML → drop it on the converter page and it converts in one step (note values, chords, and chord symbols included)
- You’re reading from paper or a PDF → place note names in Staff Input mode
- You have MIDI → same converter page, same drag and drop
If you have a file, start by dropping it on notave.zelva.dev/convert. No sign-up, nothing to install, and the full result previews right there. Editing in the editor starts at 8 measures signed out and 32 on the free plan (Pro raises it to 300), so convert one piece first and see what the fingering suggestions look like.