“The converted TAB has the right notes, but it’s awkward to play.” “I want this phrase to stop jumping up to a high position.” “Moving notes to another string one at a time is tedious.”
The same note has several homes on a guitar. TAB converted from MIDI or sheet music, and TAB you typed in yourself, can be correct as notes while the fingering simply doesn’t fit your hand.
Right notes, wrong hand
Fingering that snags usually comes down to one of these:
- Too many string crossings: neighbouring notes hop between strings and the picking hand gets busy
- Position jumps: the phrase suddenly leaps to a high position halfway through
- Open strings used, or not used: the choice doesn’t match the song or the playing style
Converted TAB keeps whatever assignment the conversion made. Typed TAB can read fine on screen and still snag once you play it. For a play-through video, where your hand sits on the neck matters for the camera as well.
Until now: one note at a time
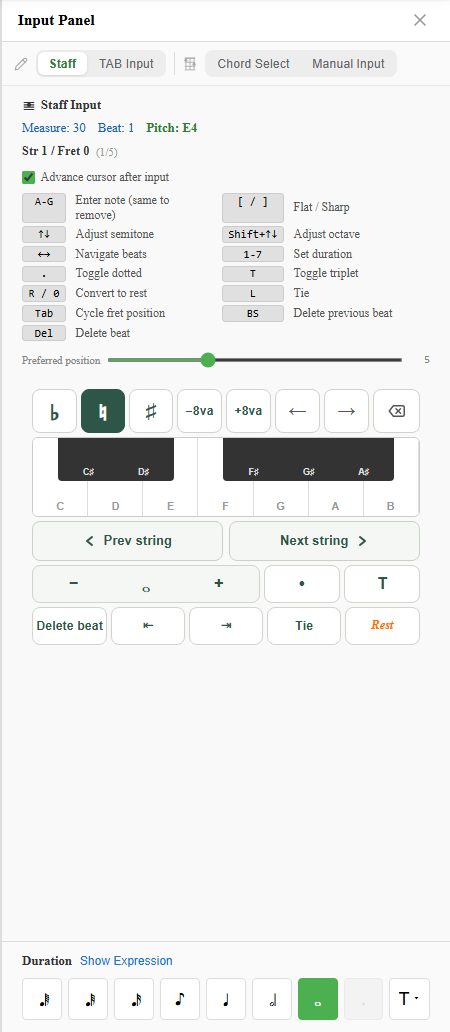
In notave’s TAB Input mode, Alt + ↑ ↓ moves the note under the cursor to the neighbouring string. Fine for one note; for a whole phrase it means repeating it once per note, and once chords are involved you also have to check that the moved note doesn’t collide with another on its new string.
One bar at a time, a different candidate with every press
In notave, right-click a bar (long-press on a phone) and choose “Re-finger”. A chip appears above the bar and the fingering switches to the first candidate.
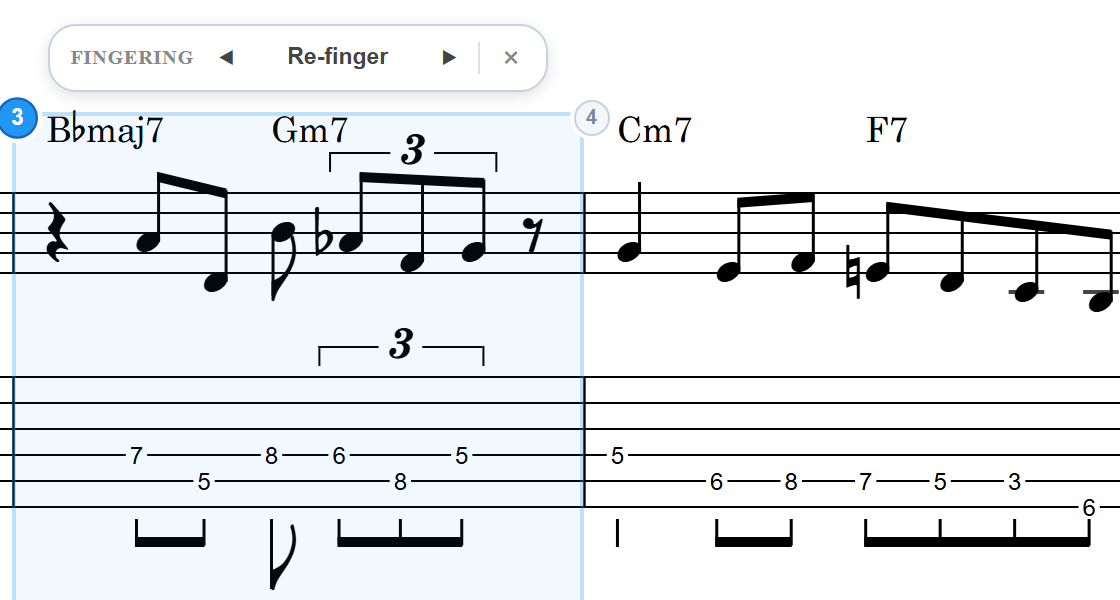
Each press of ▶ on the chip keeps every pitch and changes only the strings and frets. The candidates cycle through “Keep position”, “Low position”, “High position” and “Fewest string crossings”, then return to the original. ◀ goes back one candidate, so overshooting the one you liked is no problem. On the keyboard, Alt + R is the next candidate and Alt + Shift + R the previous one.
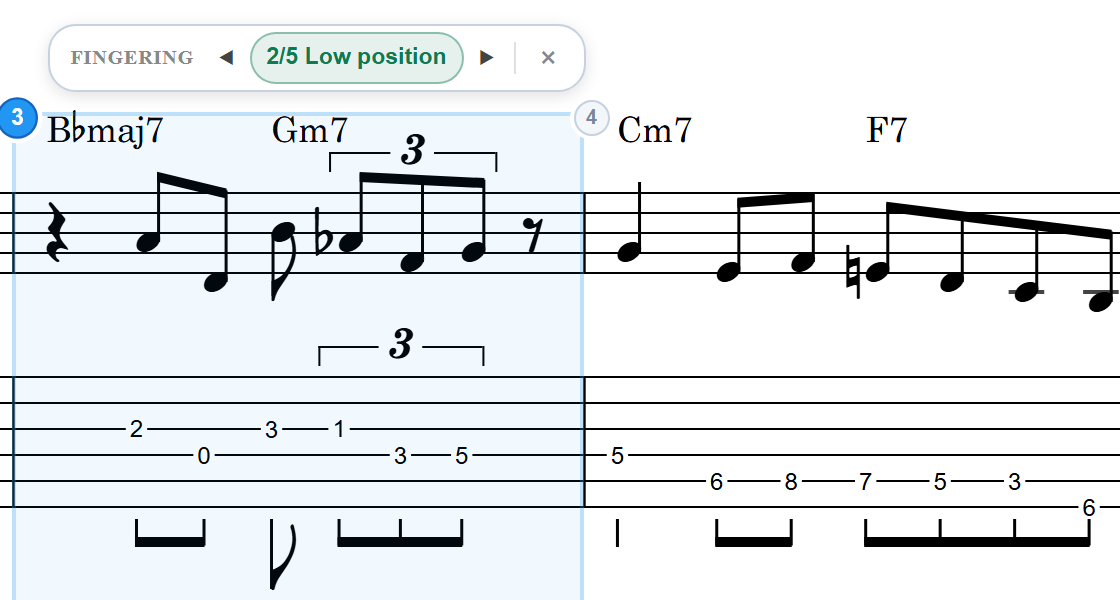
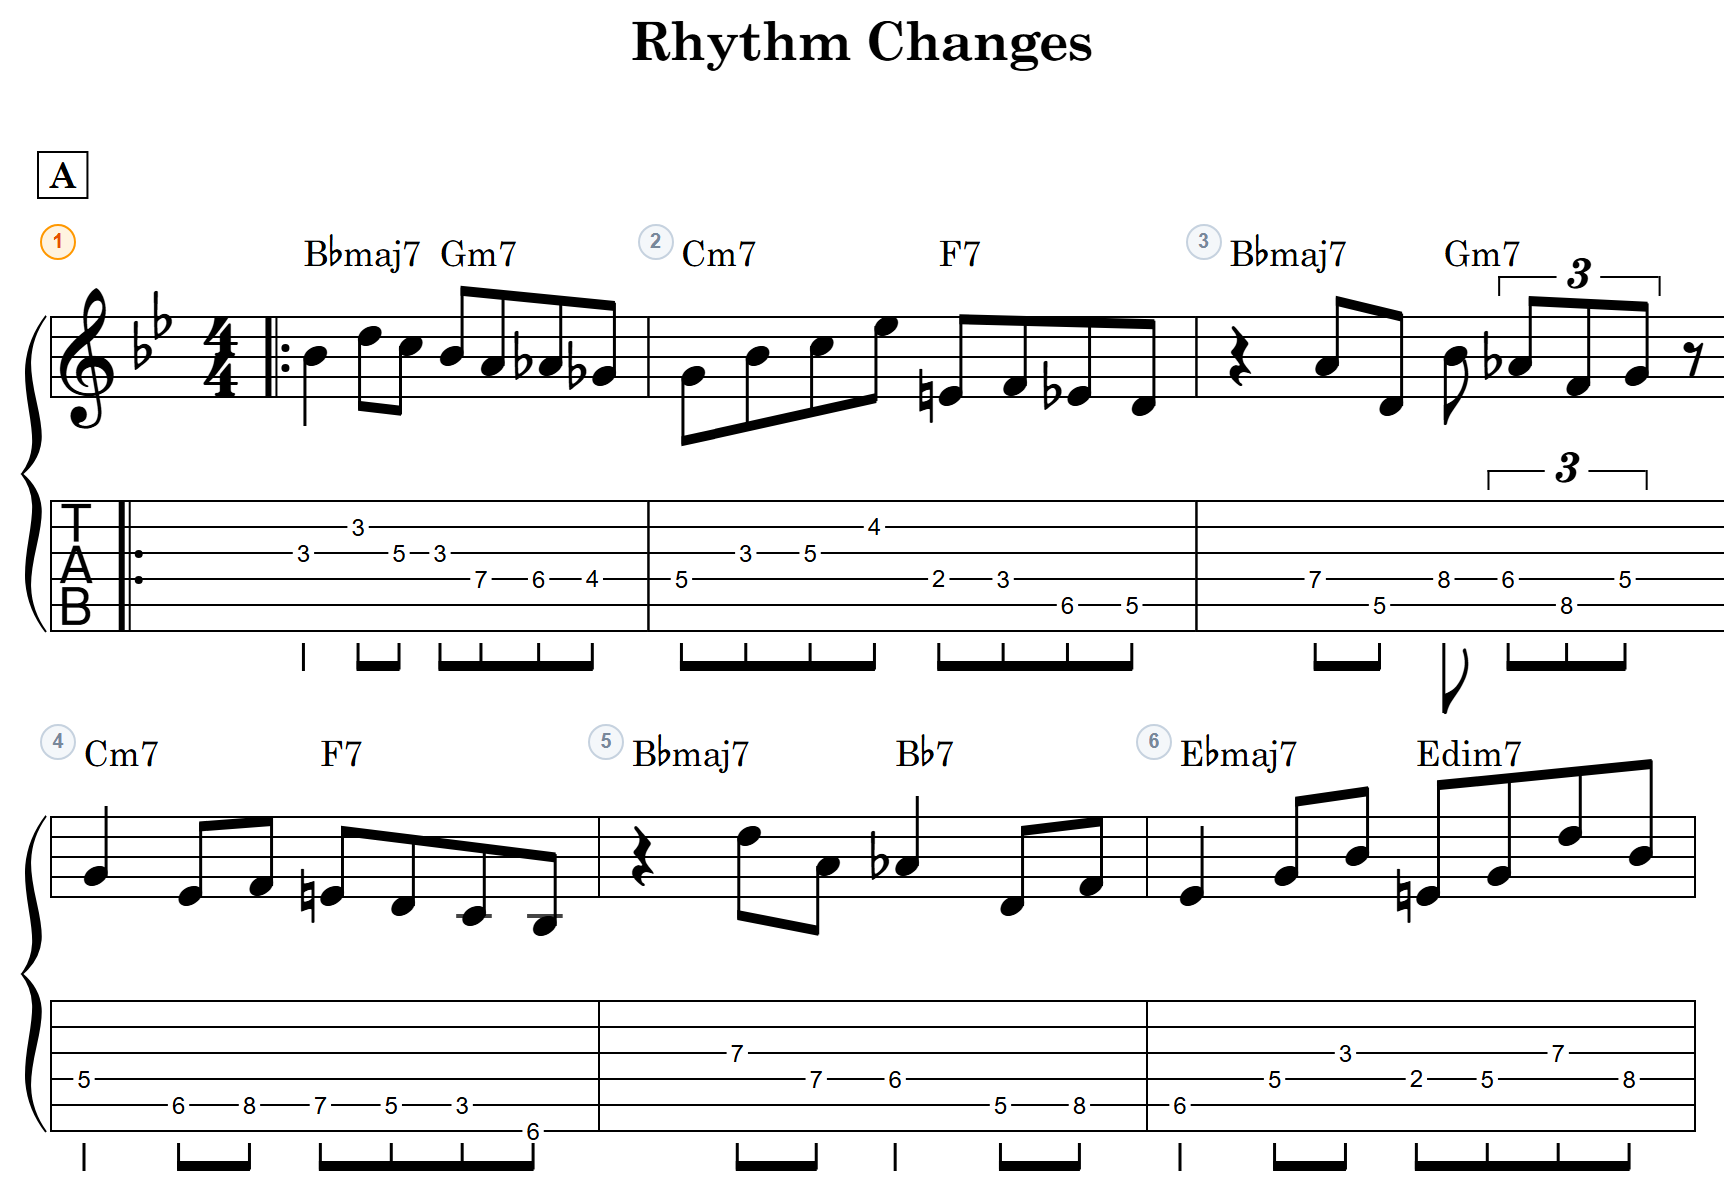
In the example above, a phrase that sat on frets 7–8 moves to open strings and frets 1–3 under the low-position candidate. Not a single note changed.
Select several bars first and the whole range is re-fingered as one phrase. That keeps the position from breaking in the middle of a line, which is why a range usually gives a more natural result than one bar at a time.
Choosing between the four candidates
| Candidate | What changes | When it fits |
|---|---|---|
| Keep position | Stays near the current position and only cleans up crossings and awkward stretches | The overall position is fine; just the snags need fixing |
| Low position | Leans toward open strings and low frets | Acoustic tone, playing near chord shapes |
| High position | Leans toward playing up the neck | Single-note lines with drive, closed jazz voicings |
| Fewest string crossings | Stays on the same string wherever possible | Fast lines, phrases you want to connect with slides and hammer-ons |
None of them is the right answer on its own; the song, your hand and the part of the neck you want on camera decide. Sometimes a full lap ends with the original fingering being the most playable after all.
Chords and two voices
- Chords only move to a shape that holds every note. Notes are never dropped to make a shape easier
- Rests, ghost notes, harmonics and pitches no string can produce stay put
- In two-voice sheets (melody + accompaniment), melody and accompaniment never share a string at the same moment
- Each press is one undo step (Ctrl+Z), so you can go back even after closing the chip
Finishing converted TAB, and choosing fingerings for video
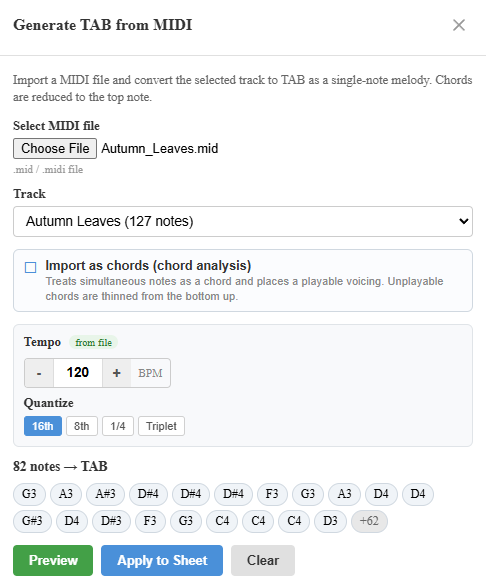
After making TAB from MIDI, MusicXML or sheet music, the quick order is: right-click only the awkward bars and re-finger them. Conversion carries the notes accurately; re-fingering fits them to your hand. Keeping the two jobs apart means you never fix a conversion note by note.
In a play-through video, fingering shapes how the performance reads on camera as much as how it plays. Want the phrase to stay where the camera sees it? “Keep position” or “High position”. Want to show open strings in low position? “Low position”. Flip between candidates and decide. A run-through in sync with the record before shooting catches any awkwardness the new fingering introduced.
It’s free
Re-fingering is free and works without signing in. Sheets are limited to 8 bars while signed out and 100 bars once you sign in (free).
Summary
TAB fingering can be reassigned without changing a note.
- Right-click a bar and choose “Re-finger” (or press
Alt + R) - Each press of ▶ cycles keep position → low → high → fewest crossings → back to the original
- Select a range to re-finger a whole phrase at once
Whether you are finishing a converted TAB or settling the fingering for a play-through video, there is no need to move notes one at a time. notave.zelva.dev needs no account or install, so start with the sheet that has a bar you keep stumbling on.