“I want the record playing while I read the TAB, but I keep switching between the video and the app.” “Every time I want to hear a bar again I’m hunting for it on the seek bar.” “Before I shoot a play-through video, I want to know my part actually lines up with the original.”
Once a TAB is written, the practice that sticks is playing along with the record. But when the record lives in a video player and the sheet lives in a tab app, every “that bar again” means operating both. The sheet app’s own playback can repeat a bar, but what you hear is the app’s sound, not the record.
In notave, the sheet plays with the record
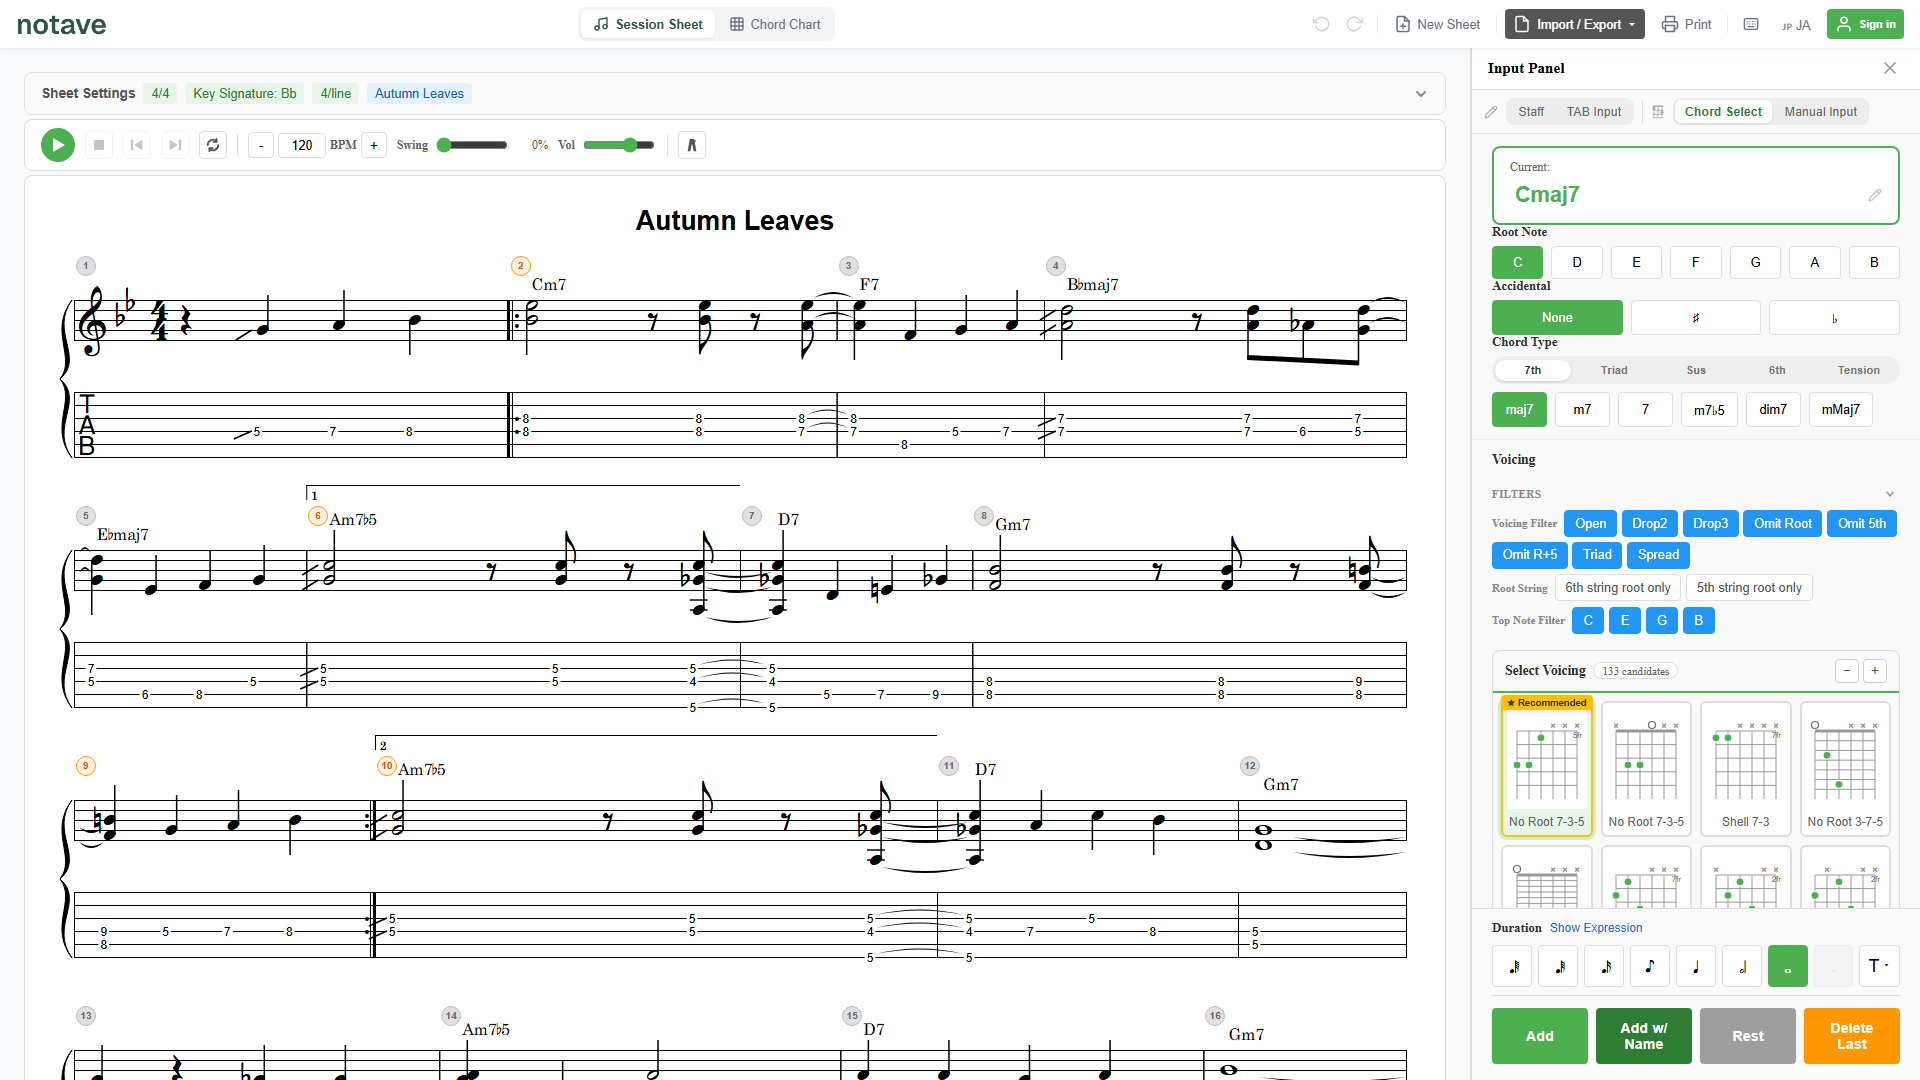
In notave you can attach the record to the sheet. Press “Backing” on the playback bar, and the backing panel opens; from there you tie an audio file from your computer, or a YouTube URL, to the sheet.

From then on the sheet’s play button is the record’s play button too. Play, pause, previous/next bar and the loop all carry the record along, so “that bar again” is: select the bar on the sheet, press play.
An audio file, or a YouTube video
- Audio file: drop an MP3 / WAV / M4A / AAC / FLAC / OGG onto the panel, or pick it with “Choose file”
- YouTube: paste the video URL and press “Add YouTube”. The video shows inside the panel and follows the sheet’s transport
“Load backing audio” and “Play a YouTube video with the sheet” in the File menu open the same panel.
Anchoring is one number: which second bar 1 falls on
To line the record up with the sheet, enter the second of the clip where bar 1 of the sheet starts. If the song begins at 0:25 of the video, that is “25”. A t= in a YouTube URL is taken as bar 1 automatically.
Once the number is roughly right, fine-tune on the waveform. The panel shows a ±3 s zoom around bar 1 with bar and beat lines at the current tempo and meter drawn over it. Drag the waveform sideways until the downbeat sits on the bar line, and the anchoring is done. You can also stop the video where you want and press “Use the current position as bar 1”.
For YouTube, the waveform is recorded the first time you play the video through with “Capture waveform from tab audio” (Chrome / Edge). The recording is kept, so the next time you open the same video there is nothing to redo.
Running a practice session
With the record attached, the whole session runs on the sheet.
- Select a bar and play: click a bar number, then press play (or Space). The record starts from that bar too
- Loop: select a range of bars and press the loop button; just that range repeats, record included. “Only the second bar of the chorus”, as many times as you like
- Count-in: set the count-in next to the metronome to 1 or 2 bars and you get the pulse even when starting mid-song
- Balance: the backing has its own volume slider in the panel, and the sheet’s sound has one on the playback bar. Turn the record down and lean on the sheet’s sound, then switch to the record alone once it settles — all from the same bar
Keeping the sheet’s sound on alongside the record also tells you when your TAB has a note the record doesn’t. That is a quick way to check a transcription.
Before you shoot a play-through video
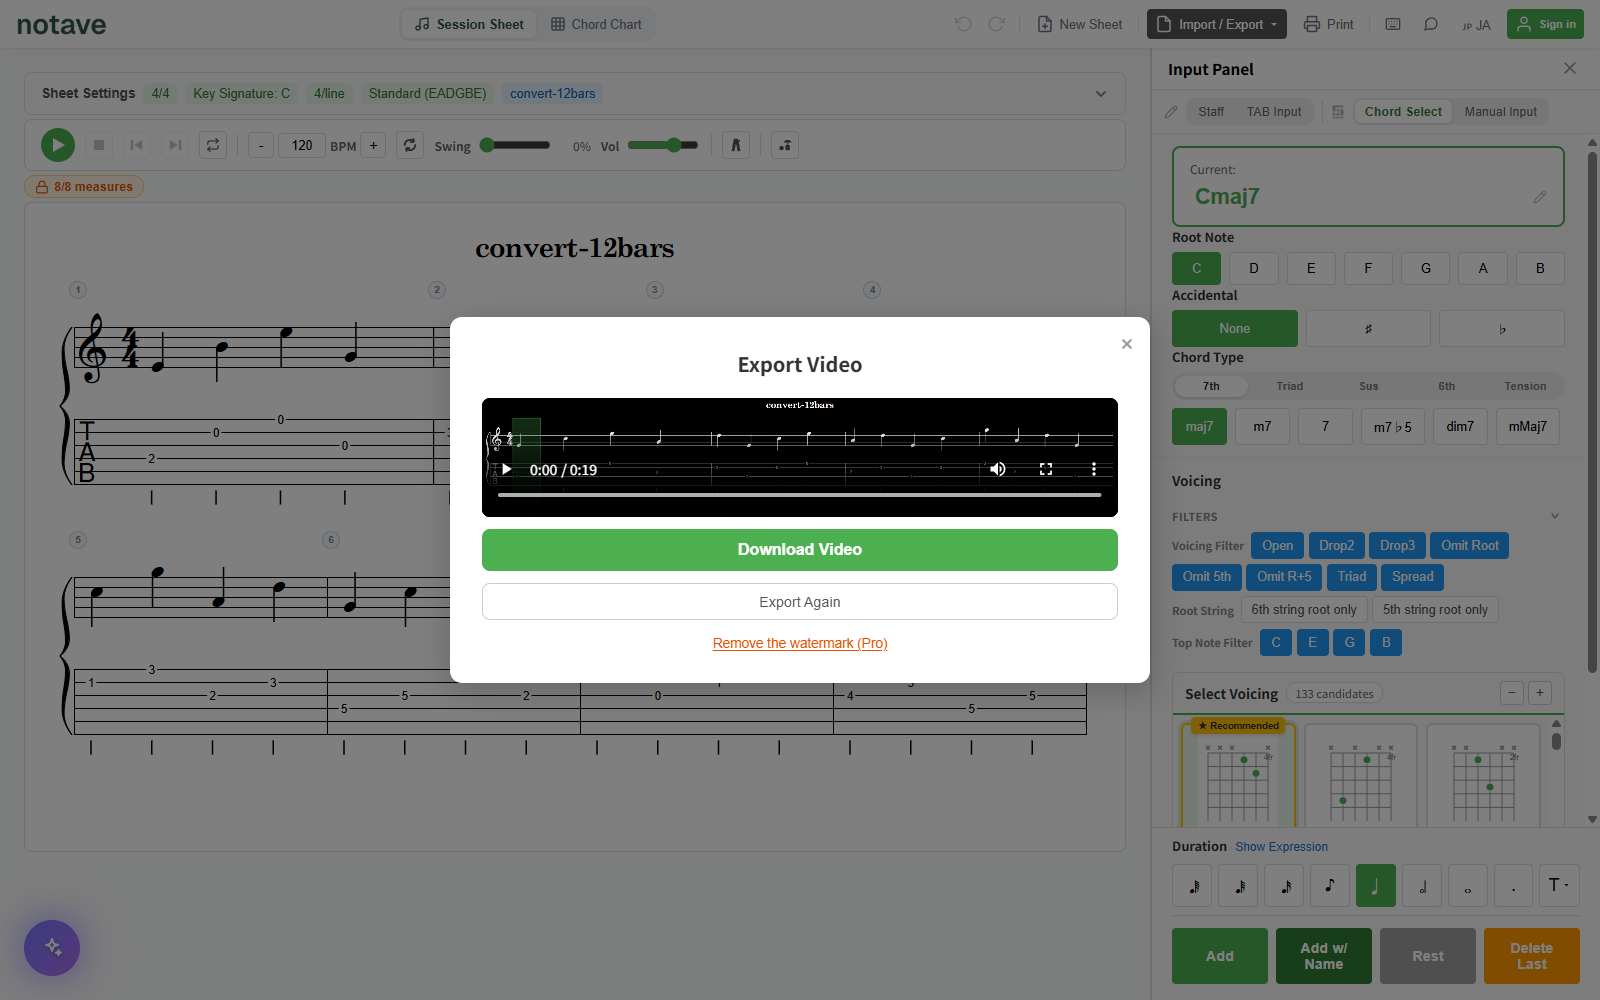
The notave way to put TAB on a play-through video is to export a strip and overlay it on the performance. Playing the part through in sync with the record before you shoot catches “that was off from the original” and “the tempo drifted in this bar” before they cost you a take.
The record you attach is not included in video or audio exports. The strip carries only the sheet’s sound (or silence), so the backing never collides with the audio of your performance video. There is no need to detach the record you practiced with.
Good to know
- The audio file itself is stored only in your browser. Share links and cloud saves carry just the alignment; on another device, pick the same file again and it comes back
- YouTube playback needs a network connection. Sync stays within about 0.1 s
- Capturing a YouTube waveform works in Chrome / Edge. Synced playback and numeric anchoring work in every browser
The details are in the manual under ”Playing an audio file or YouTube video in sync“.
It’s free
Synced playback is free and works without signing in. Sheets are limited to 8 bars while signed out and 100 bars once you sign in (free).
Summary
Practicing with the record sticks when there is one play button.
- From “Backing” on the playback bar, attach an audio file or a YouTube URL to the sheet
- Enter which second bar 1 falls on, then drag the waveform so the downbeat sits on the bar line
- Select bars on the sheet and loop them
It doubles as the run-through before a play-through video, and the attached record never ends up in the exported strip. notave.zelva.dev needs no account or install, so try it with the song you are practicing now.
If the TAB’s fingering is awkward to play, see re-fingering a bar without changing the notes.