You want to practice improvising or comping over a set of changes. But practicing alone is harder to keep up than it sounds.
A metronome click alone gives you no harmony to hear. With no accompaniment, it’s hard to feel where you are in the progression. And hunting for a jam track online means someone else’s key and tempo — not the exact progression you set out to practice.
Worst of all is this: while you’re looping away, you land on a phrase and think “that was good” — but you never wrote it down, so a moment later it’s gone.
This article solves all of that on one screen in notave. There are only four steps: add a backing band in the genre you like to your own progression, loop it endlessly, and notate the good phrases on the spot. All in the browser.
1. Start a new sheet
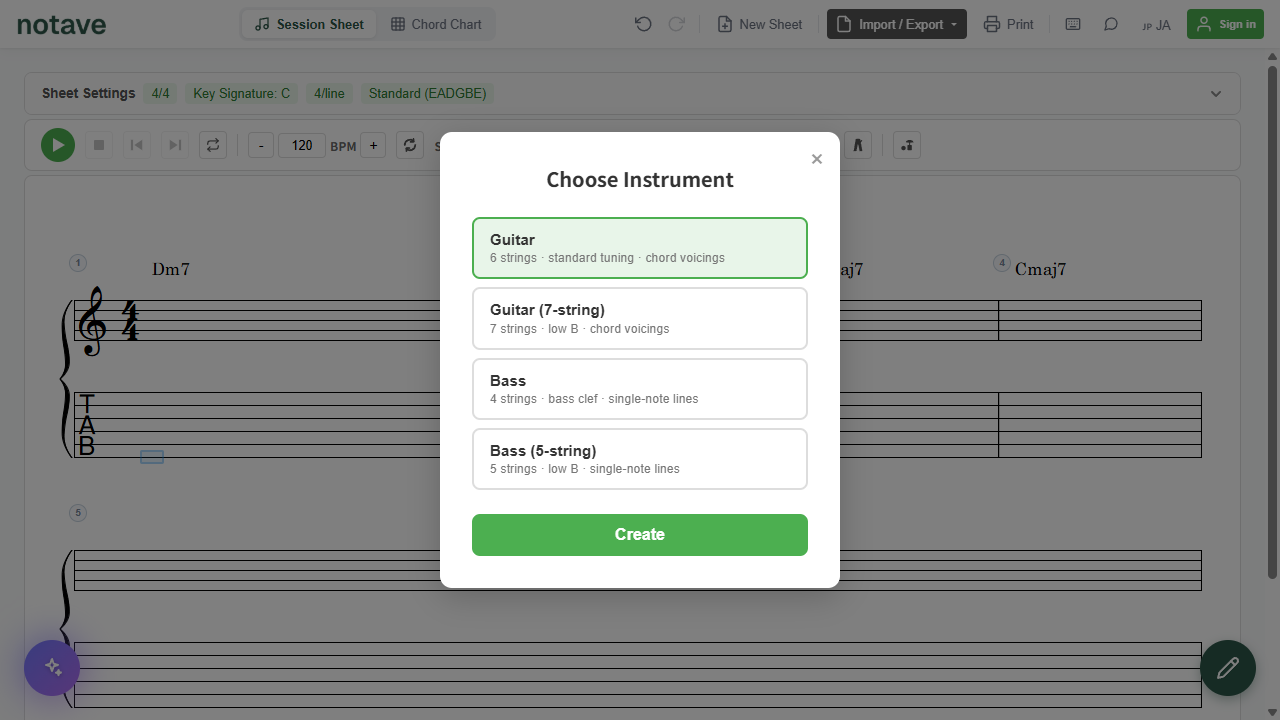
First, the container. Click “New Sheet” in the header and pick an instrument:
- Guitar (6-string, standard) / Guitar (7-string, low B)
- Bass (4-string) / Bass (5-string, low B)
Choose what you’re practicing and hit “Create.” You start from a blank sheet.
2. Enter the progression in Chord Chart
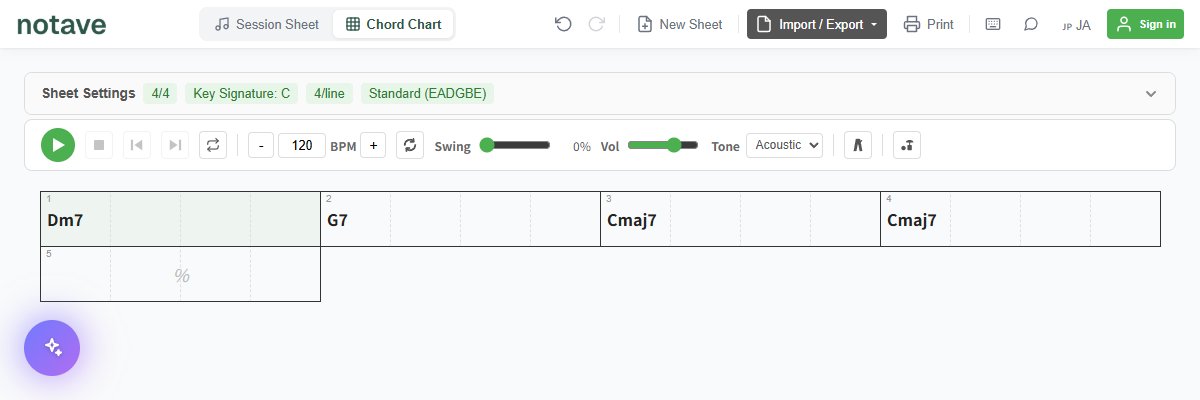
Use the toggle at the top-left of the header to switch to Chord Chart. It hides the TAB and shows just the changes — so entering a progression is fast; you’re not writing note by note.
Click a measure cell, type a chord name (e.g. Dm7), and press Enter. Repeat for as much of the progression as you want to practice. Keep it short — it’s going to loop, so 2–4 bars is plenty.
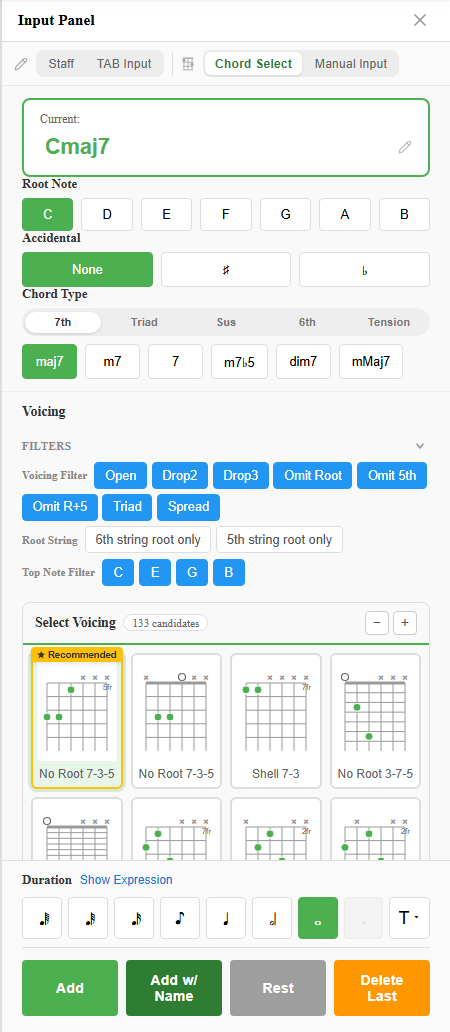
Don’t know the chord names? Chord-select mode lets you pick a root and chord type and hands you the voicing.
Ready-made progressions (copy and try)
Here are four commonly-practiced progressions. Each one plays (▶) with its backing band already on, in a style and tempo that fit the changes (toggle the band, or change the style/tempo from the player inside). Use Copy and edit to pull it into your own notave, slow it down, and jump to steps 3–4.
II-V-I (a jazz staple) — Dm7 → G7 → Cmaj7. The cadence that underpins jazz soloing; for what to play, see improvising over II-V-I. Style: Jazz swing.
Circulation progression (I-VI-II-V) — Cmaj7 → A7 → Dm7 → G7. A turnaround you can loop forever. Also Jazz swing.
“Just the Two of Us” progression (neo-soul) — Fmaj7 E7 | Am7 G7 C7 | Fmaj7 E7 | Am7 (a IVmaj7→III7→vi loop). That grown-up neo-soul sound. notave’s Neo-soul style is built for exactly this feel.
Royal Road progression (rock & pop) — Fmaj7 → G → Em7 → Am7. The IV-V-iii-vi that’s everywhere in J-pop. Style: Pop or Rock.
Tip: the root has a “Notes / Degrees” toggle — switch to Degrees and enter
II - V - I. Because it’s stored by degree, you can move the same progression to any key later. It’s the prep work for practicing in all twelve keys.
3. Turn on the backing band, pick a genre, and loop
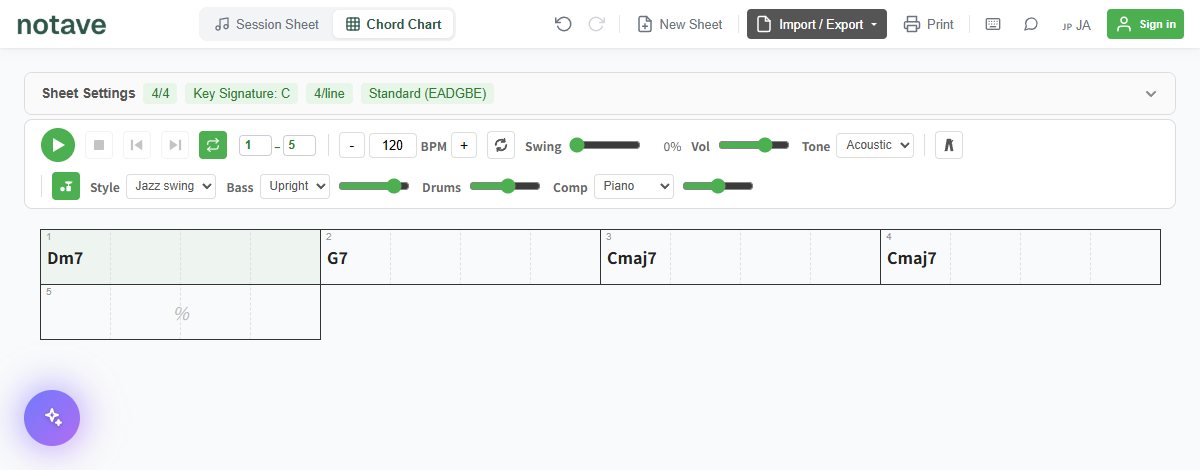
This is the heart of the workflow. Turn on “Backing band” in the playback bar and notave auto-generates bass, drums, and comping that follow the progression you just entered.
Unlike a store-bought jam track or a YouTube backing video, what’s playing is the exact progression you just typed in. So if no backing track out there happens to fit the changes you want to work on, there’s no need to go hunting — if it doesn’t exist, just make it here. Any progression becomes a backing track on the spot.
Start by choosing a Style that fits the changes:
- Jazz swing — a swung four; walking bass + ride, perfect for II-V-I practice
- Neo-soul — a straight, laid-back feel; a Rhodes-style e.piano suits it
- Rock / Pop — eighth-note grooves, for comping and riff repetition
You can set the comp voice (nylon guitar / piano / e.piano / overdrive), each part’s volume, and layer in a Pad if the style offers one. Drop the tempo (BPM) to whatever you can play cleanly.
Then loop it. Turn loop on and, when playback reaches the end of the progression, it jumps back to the top and keeps going, without a break. Unlike a bare click, the harmony keeps sounding — so you’re repping your comping and your solos in close to real playing conditions.
To drill just two hard bars, set the loop region by start and end measure numbers and it repeats only that slice — great for working a trouble spot.
(Want a click on top? Layer the metronome over it — count-in included.)
4. Save the phrases you like
Keep looping and, sooner or later, a moment comes where you think “that phrase was good.” This is where the workflow pays off: before you forget it, you can write it into the sheet right there.
Switch back to Session Sheet and enter the phrase with TAB input, staff input, or mic input. Even a few notes captured while your hands still remember them means you can revisit it any time.
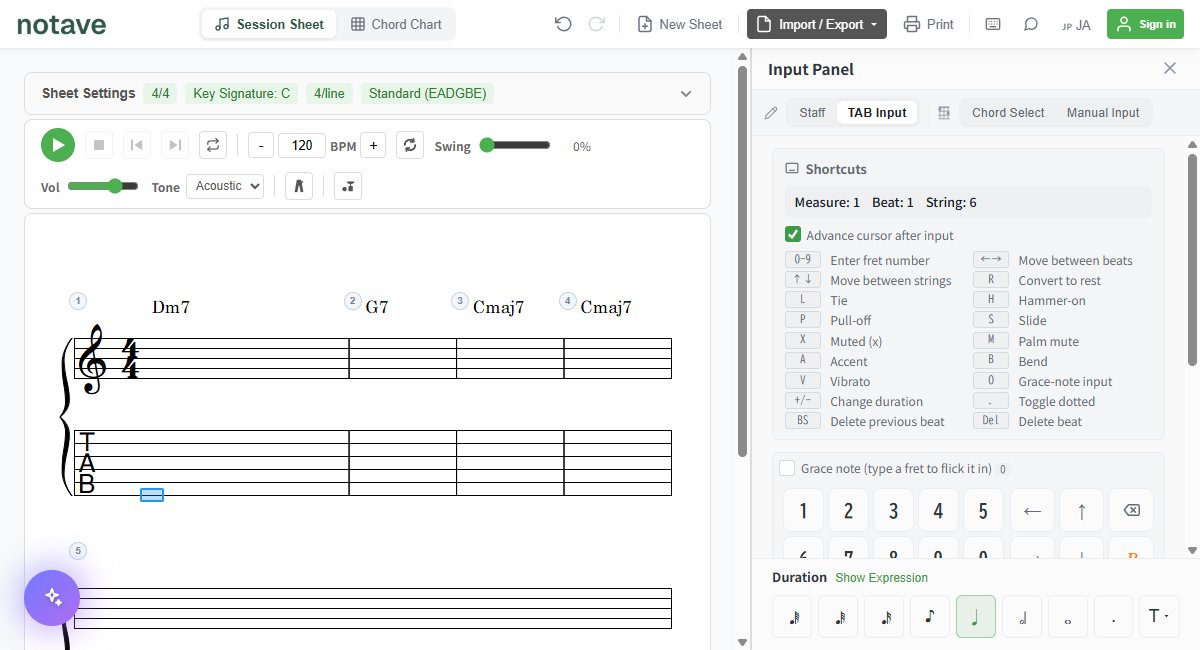
Keep it by saving to the cloud (up to 3 sheets when signed in; the limit will be raised step by step) or saving to a file — either way it won’t disappear. Turn it into a share link and hand it straight to a teacher or bandmate.
And once it’s saved to the cloud, you can pull that progression — the whole practice track — back up anytime, from any device. Want to run that II-V-I again? Just open it. Today’s practice loop is ready for tomorrow, and your practice sets pile up as a reusable library.
Little by little, the improvisations you used to throw away become your own phrase notebook. Practice that accumulates as a record — that’s the real payoff of these four steps.
Tips to get more out of it
- Start slow — drop the BPM until it’s clean, then nudge it up
- Loop a slice — set the two hardest bars as the loop region and drill them
- Cover all keys — move the same progression through twelve keys with transpose
- Pick a scale — not sure what to play over a II-V-I? See improvising over II-V-I
- Compare feels — run the same progression as swing / rock / pop to widen your rhythmic vocabulary
Summary — how to build a practice loop
- New Sheet — pick your instrument
- Chord Chart — enter the progression you want to practice, kept short (2–4 bars is fine)
- Backing band on → pick a genre → loop — and keep playing without a break
- Save the phrases you like — don’t throw your improvising away
The backing, the loop, and the record of your phrases — all inside the browser. Start by picturing one progression you want to work on.
For the details of each feature, see the notave manual.