“I want my play-through video to show the TAB too.” “How do people make those tabs that scroll along with the playing?” “You know the look — a black strip at the bottom of the screen with TAB flowing through it.”
Play-through videos with on-screen TAB are a beloved format: viewers can practice straight from the video, so they get saved and commented on. But when you look up how to make one, the usual answer is surprisingly laborious. This guide covers that traditional method first, then a simpler one: export the scrolling TAB itself as a strip video, right in your browser, and overlay it in your editor.
The traditional way: screen-record and composite
The usual workflow for scrolling TAB goes something like this:
- Write the TAB in a tab editor
- Switch the view to horizontal scrolling
- Play it back while screen-recording the TAB area
- Import the recording into your video editor, then resize and position it over your footage
It works, but screen recording drags in its own problems — framing the capture region, playback controls sneaking into the shot, resolution compromises. And every re-take means setting it all up again.
With notave: export a strip video and overlay it
The video export in notave, a browser-based TAB editor, includes two strip presets made for play-through videos. Instead of screen-recording, you export the scrolling TAB itself as a wide strip video.
- Band (16:3) = 1920×360 — sits exactly on the bottom third of a full-HD (1920×1080) landscape video
- Band Short (1080×540) = a strip for vertical Shorts (1080×1920)
The steps:
- Prepare your TAB in notave (more on that below)
- Open Export Video from the import/export menu and pick Band (16:3) — or Band Short for a vertical video
- Load the exported MP4 into your video editor and layer it over the bottom of your footage
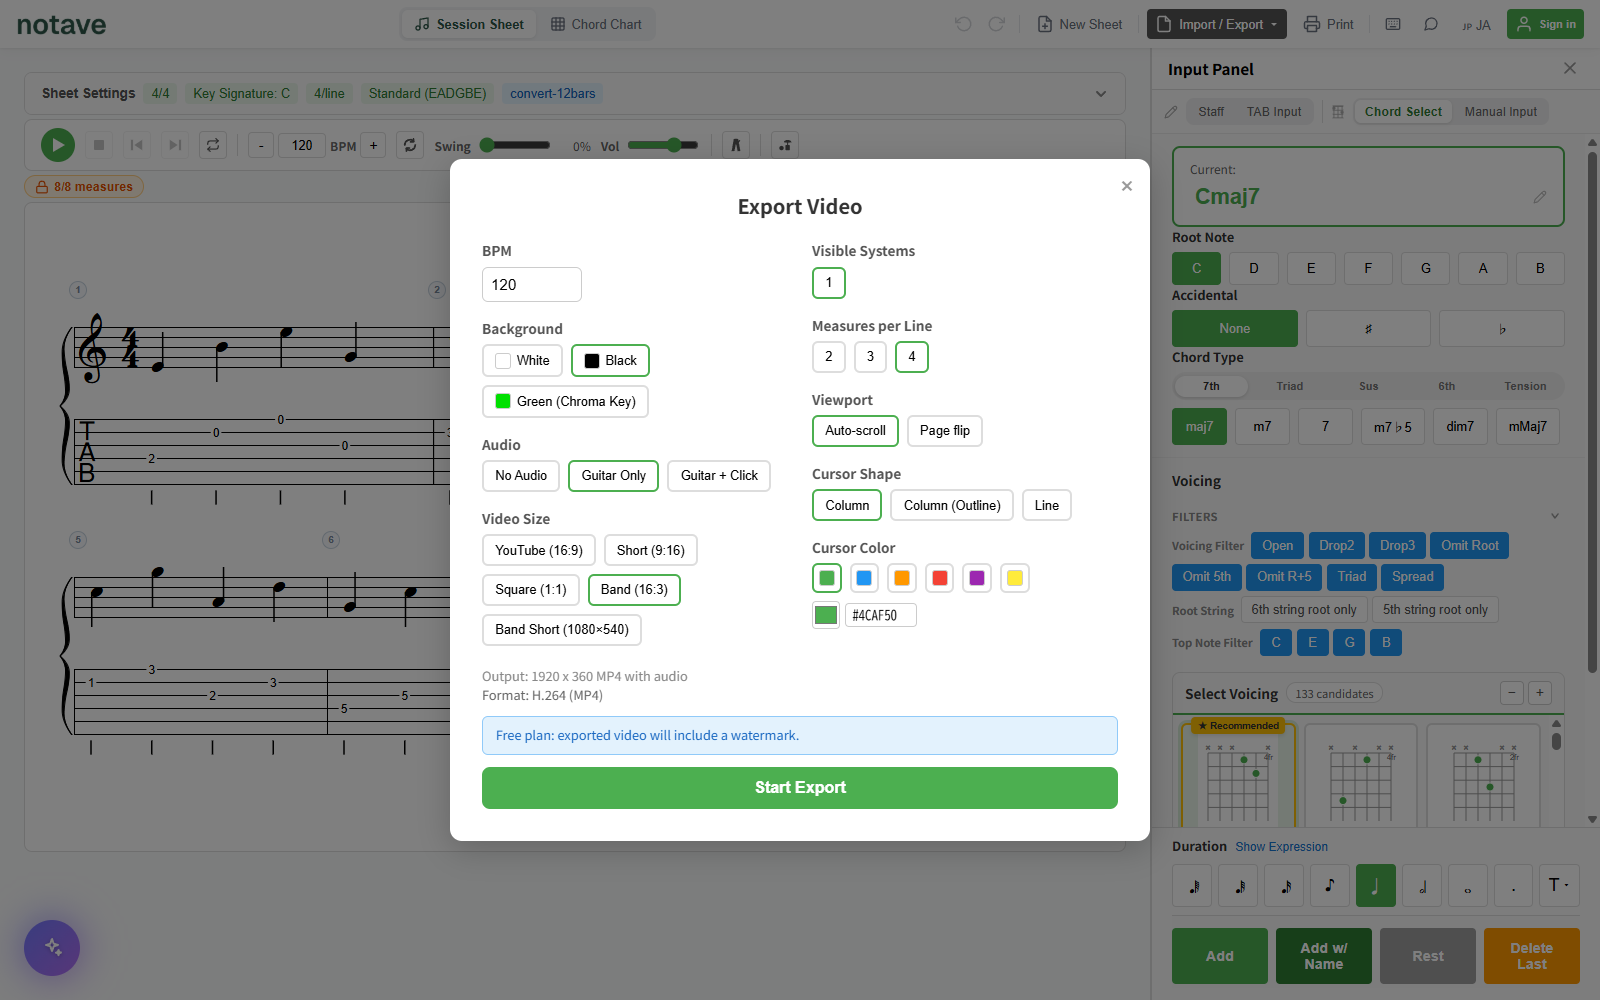
The TAB renders as a single system that scrolls along with the music, and the rendering runs entirely in your browser — no extra software. The strip uses a solid black or white background: the classic “black-strip TAB” look. Drop it onto your video and you’re done, and the numbers stay readable no matter what’s in the footage.
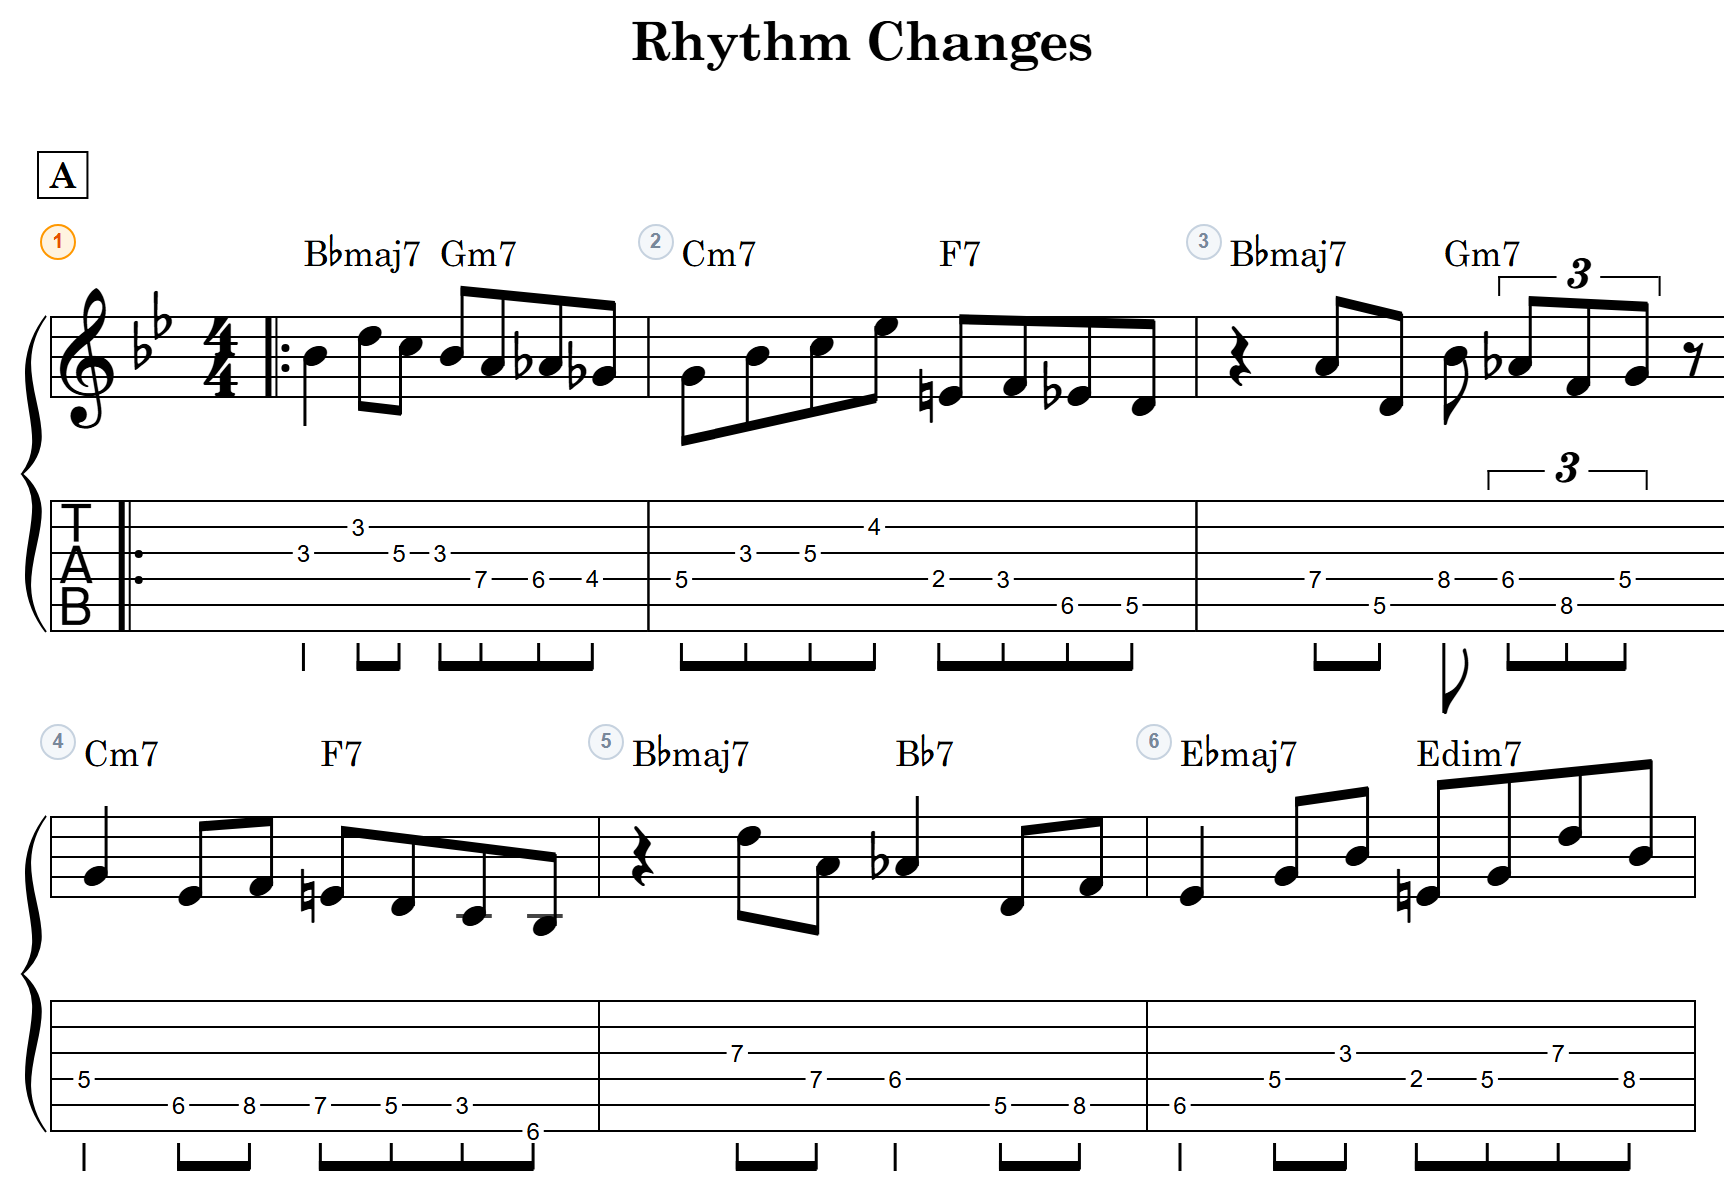
Here is a strip exported with Band (16:3) — 8 measures, black background, with the watermark:
On the editor side
The steps are the same in CapCut, DaVinci Resolve, Premiere Pro, or any other editor:
- Place the strip video on the track above your performance footage
- Align it to the bottom edge (Band (16:3) fits a 1920×1080 landscape video at 100% scale; Band Short fits a 1080×1920 vertical one)
- Nudge the strip’s start point until the TAB lines up with your playing
Export the strip without audio and it won’t fight with your performance sound.
For Shorts, use Band Short — don’t reuse the landscape strip
One pitfall worth knowing. If you drop the landscape Band (16:3) strip (1920 wide) onto a vertical Short (1080 wide), it gets scaled down to about 56% to fit, and the fret numbers become unreadable.
For Shorts (YouTube Shorts / Reels / TikTok), pick the dedicated Band Short (1080×540) preset. It fits a vertical video at full width, and the strip stands about 28% of the screen tall — sized so the numbers stay readable in full-screen phone viewing.
Don’t have the TAB yet? Several ways in
If the part you want to show isn’t written down yet, pick the entry that matches what you have:
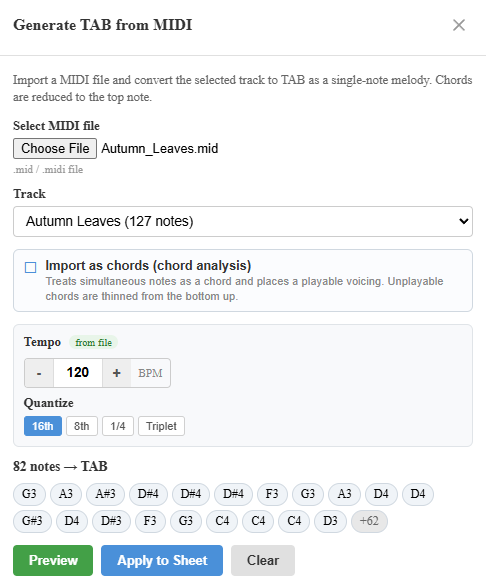
- A MIDI or MusicXML file → drag and drop it onto the converter page and it becomes TAB in one step (details: MIDI to TAB / MusicXML to TAB; from standard notation)
- Transcribing by ear or writing your own arrangement → enter it directly with the four input modes (TAB, staff, and more)
Is it free?
Video export is free. Exports currently carry a watermark. Watermark-free export used to be paid-only and is being opened up to everyone step by step. Sheet length is capped at 8 measures signed out and 100 once you sign in.
Full-frame presets — YouTube (16:9), Shorts (9:16), and Square (1:1) — are there too, so one chart can become a video for each platform.
Summary
To put scrolling TAB on a play-through video:
- Prepare the TAB in notave (have a file? drop it on the converter page)
- Export an MP4 with Band (16:3) — or Band Short (1080×540) for Shorts
- Overlay it on the bottom of your footage in your editor and line up the timing
No screen recording involved. notave.zelva.dev needs no sign-up and no install — try exporting a strip for a single phrase and drop it into your editor.