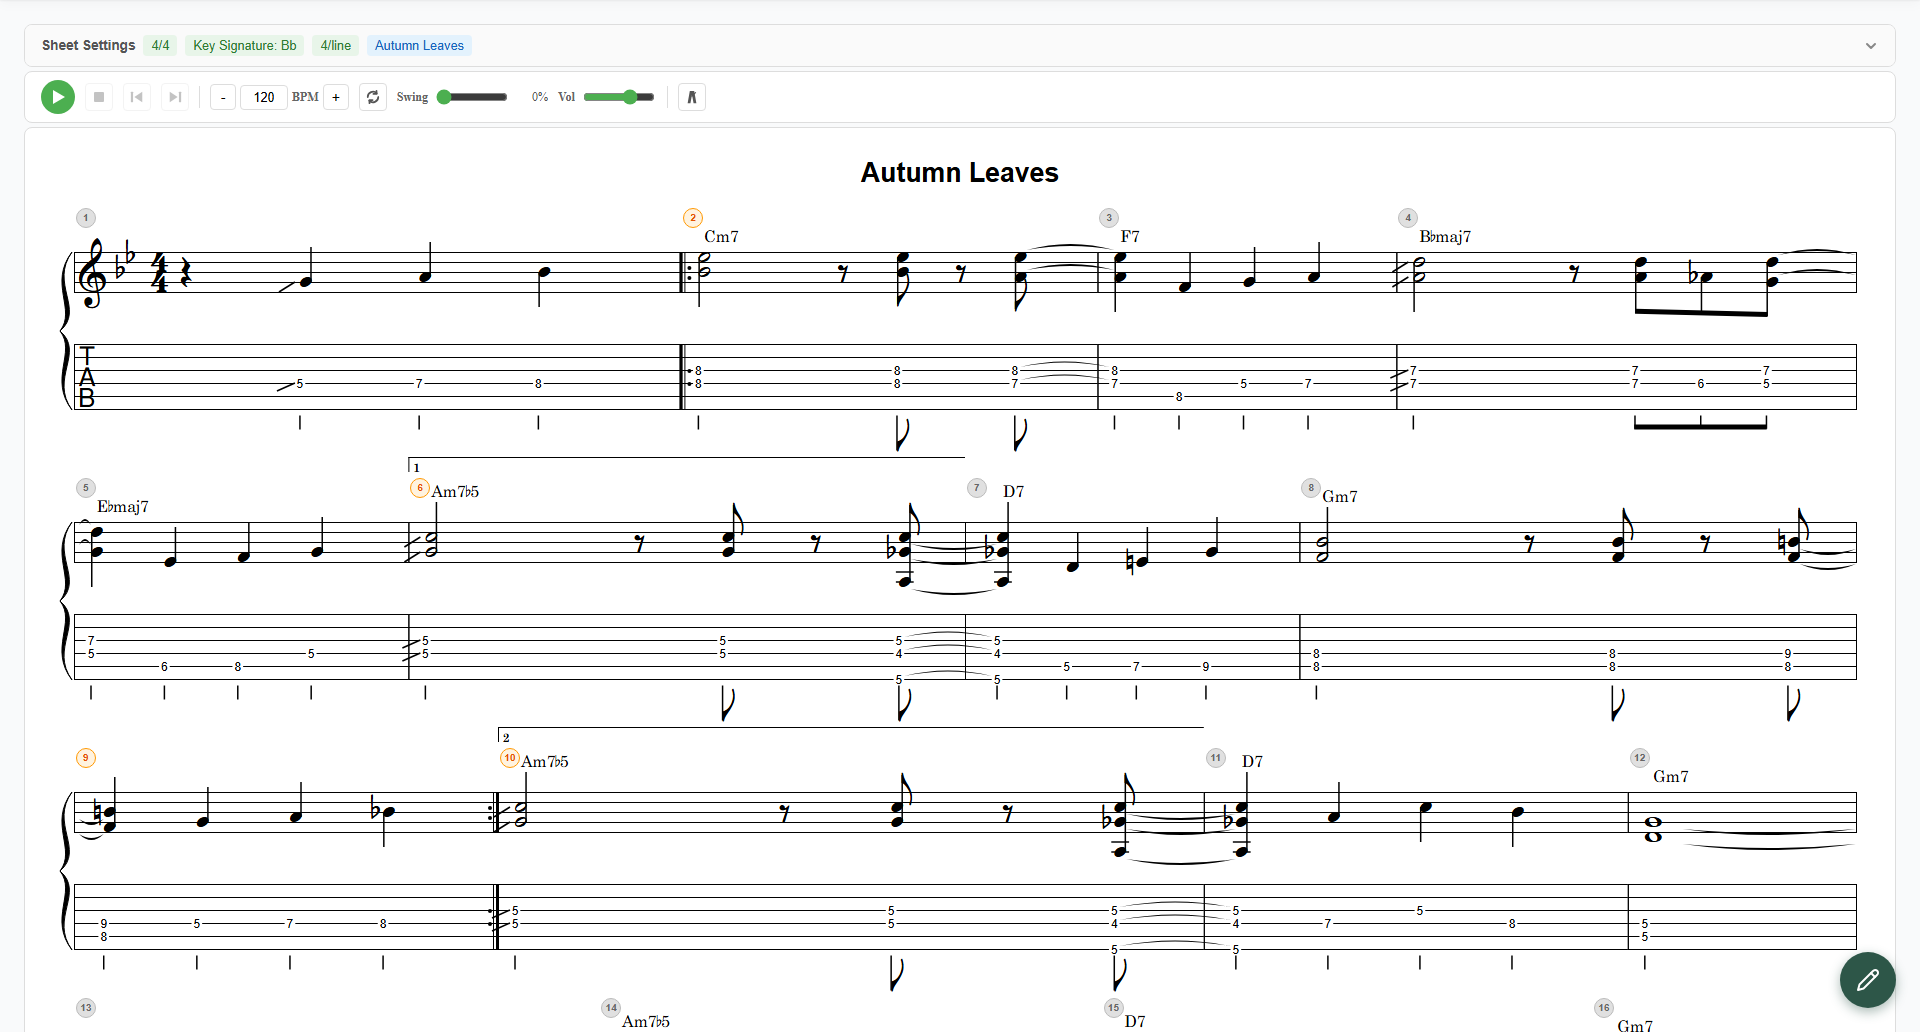
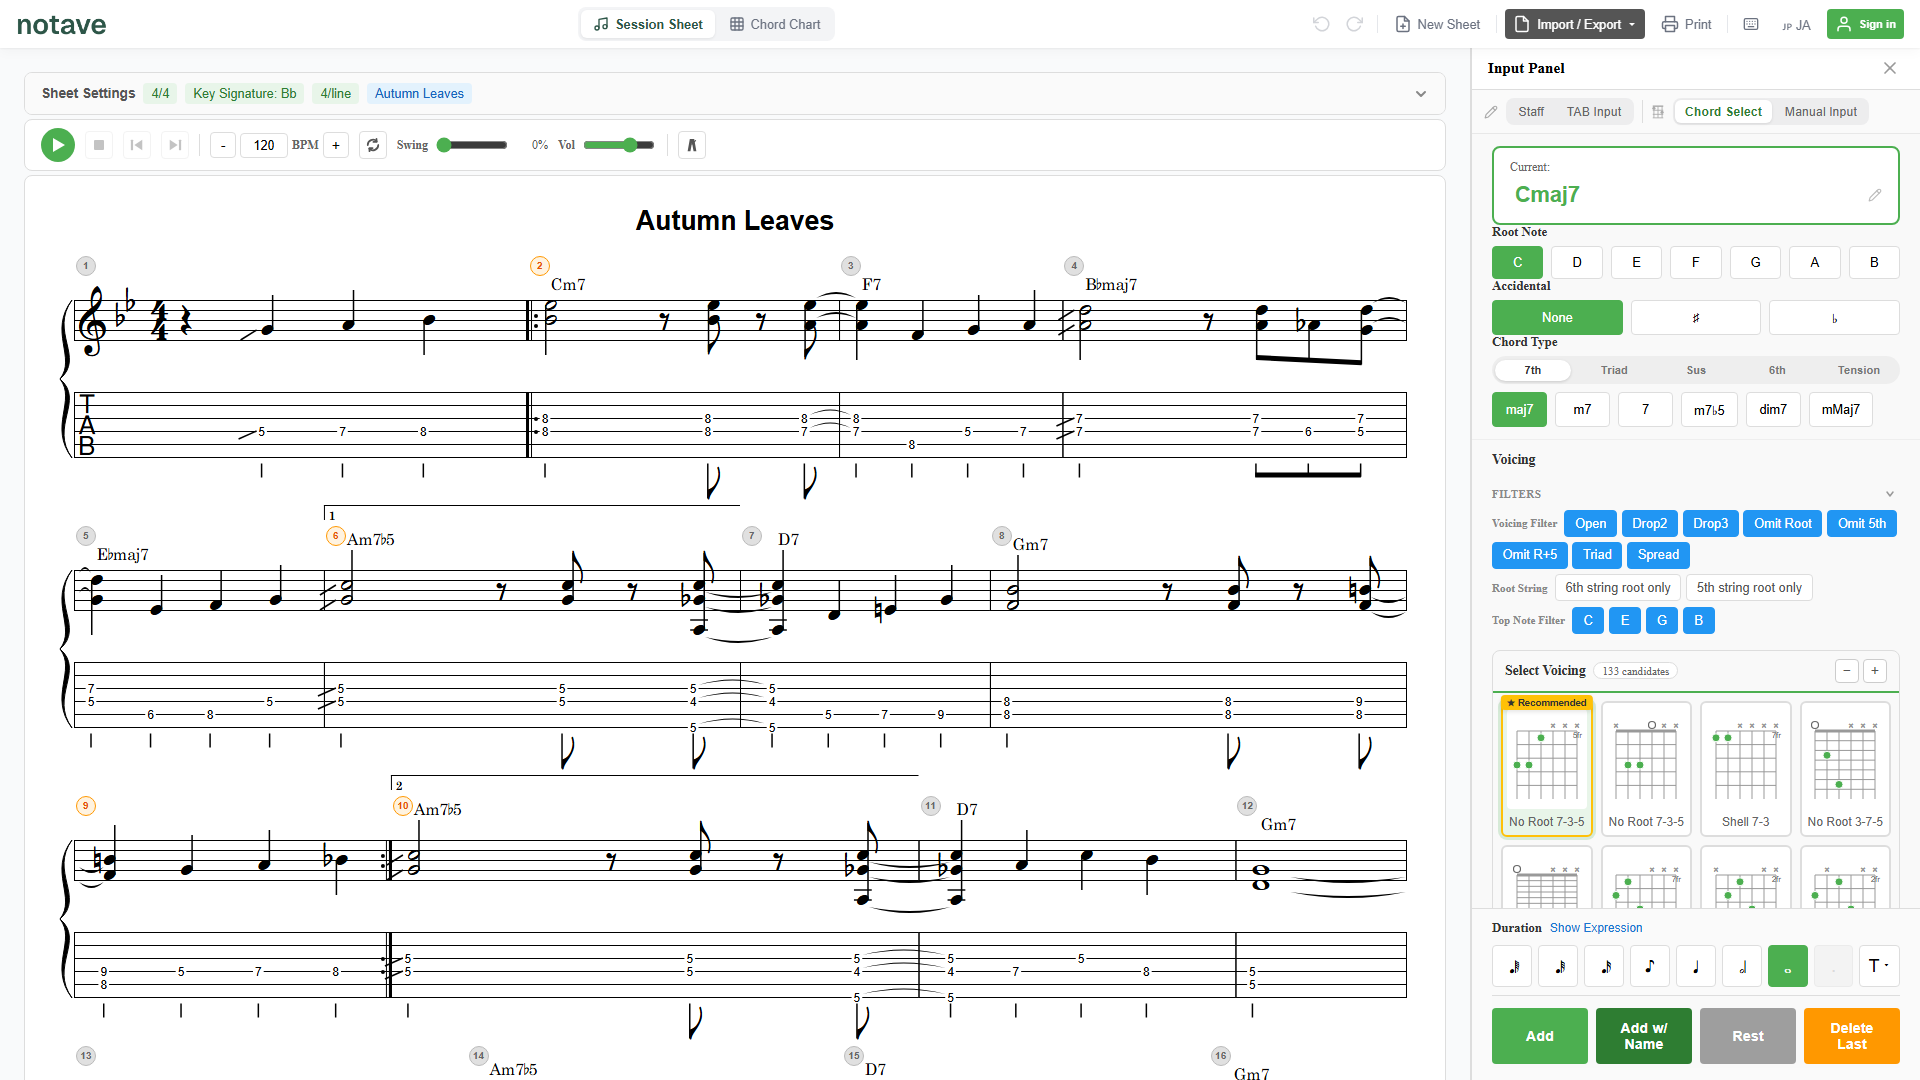
When you want to get a riff or solo onto the page as fast as possible, TAB Input mode is the tool for the job.
You place a cursor on the TAB staff and type fret numbers directly with the number keys, so if you’re used to software like Guitar Pro it’ll feel almost identical. This article walks through the panel parts and the key controls in order.
TAB Input lives in the “Direct Input” group of the mode tabs. For the big picture, see the four input modes.
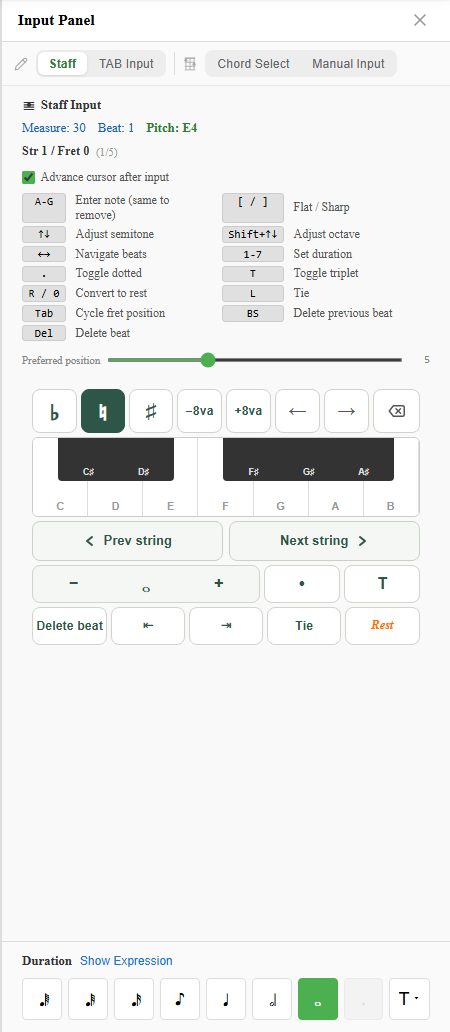
1. Read the cursor position
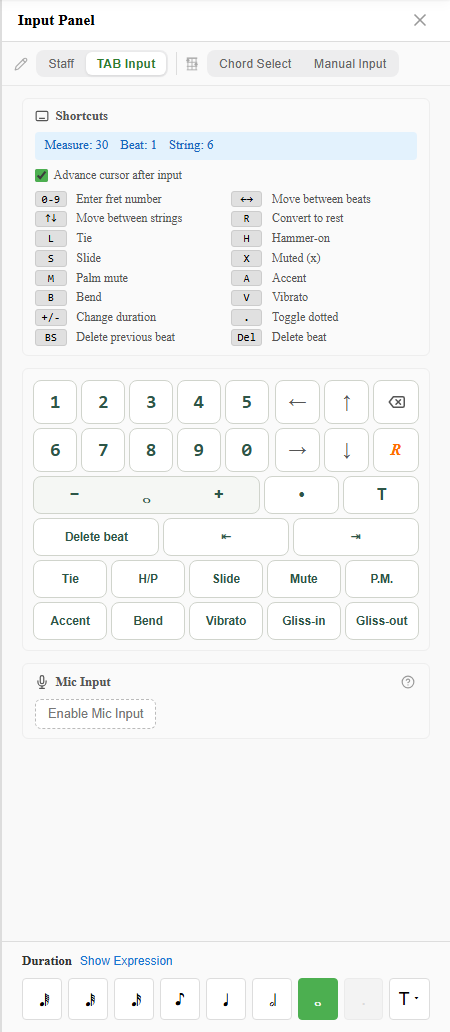
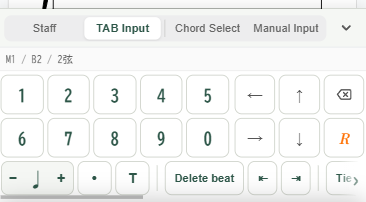
When you enter TAB Input mode, the top of the panel shows where you’re about to type.
- Measure / Beat / String: where the cursor currently sits.
- Fret buffer: while typing a two-digit fret, the pending digit blinks as
Fret: 1_before it’s confirmed. For fret 12, you press “1” then “2”.
Entry always means “write to this cursor position, at the selected duration.” So the flow is: move the cursor to where you want it, then type the fret number.
2. Keyboard shortcuts
Here are the key controls for TAB Input mode. On a device with a physical keyboard (a PC), this legend is always visible.
| Key | Action |
|---|---|
0–9 | Enter fret number (two digits supported) |
← → | Move between beats |
↑ ↓ | Move between strings |
R | Convert to rest |
L | Tie |
H | Hammer-on |
S | Slide |
X | Muted (x) |
M | Palm mute |
A | Accent |
B | Bend |
V | Vibrato |
+ / - | Change duration |
. | Toggle dotted |
BS (Backspace) | Delete previous beat |
Del | Delete beat |
Once it clicks, you’ll find yourself typing two-handed — numbers with the right hand, technique keys and arrows with the left — and entry speed jumps.
Duration (
+/-, dot.) and the techniques can also be changed from the shared selectors at the bottom of the panel. For what’s inside each selector, see the four input modes.
3. Auto-advance (move on after each entry)
Tick ”Advance cursor after input” and the cursor moves on by itself every time you place a note.
For single-note phrases that flow left to right, leaving this on saves you the arrow-key presses and feels great. Conversely, when you want to stack a chord on the same beat, turn it off so the cursor stays put and you can add notes at the same position. The setting is remembered next time.
4. You can also enter notes by button (phone / tablet)
On a device without a physical keyboard, use the on-screen input pad instead of shortcuts. Buttons for fret digits, string movement, beat movement, and techniques are laid out so you can do everything the keyboard does, by tapping.
On touch devices the shortcut legend just gets in the way, so it sits behind a ”Shortcuts” toggle (on a PC it’s always shown).
5. (Advanced) Transcribe from a mic
TAB Input mode also has a “Mic Input” section that detects guitar pitch through your audio interface and places the single notes you play onto the sheet. Notes land at the current cursor position using the selected duration. It’s an advanced feature for transcribing as you play.
Summary
TAB Input mode comes down to two moves:
- Move the cursor with the arrow keys (string, beat)
- Type the fret with the number keys (add H, B, etc. for techniques as needed)
Turn on “Advance cursor after input” and single-note phrases flow right out. Try entering a short riff at notave.zelva.dev.
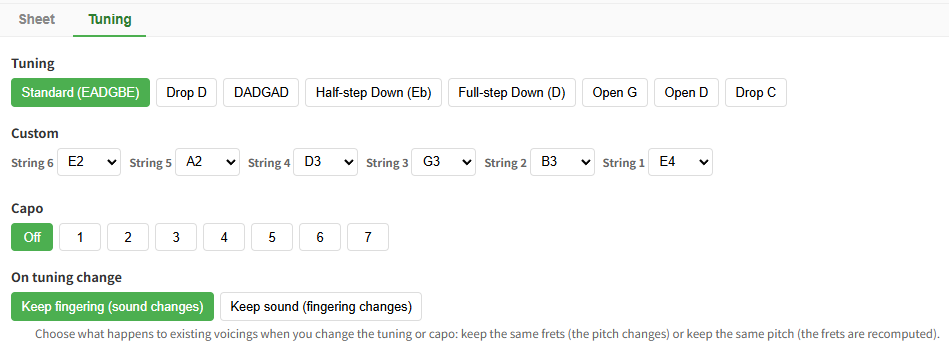
To write a melody by note name, see Staff Input mode; to combine alternate tunings or a capo, see tuning and capo settings.