How to Read (and Write) Guitar TAB — A 5-Minute Beginner's Guide
By Masashi Y.
You searched for a song you want to play, and out came a wall of numbers like this —
e|---0---0---1---3---|
B|-------------------|
G|-------------------|
If you froze and thought “…how do I even read this?”, you’re in the right place.
By the end of this article you’ll know exactly which song those four numbers are — and by then, you’ll be reading TAB.
Good news: TAB (tablature) is the easiest notation there is to read. You don’t need to memorize note heads like standard notation, and you don’t need any music theory. There are only three things to learn: the lines are strings, the numbers are frets, and you read left to right. That’s it.
In this guide we’ll confirm all three by actually playing the sounds as we go. By the end you’ll read the TAB you find online with ease — and you’ll even be able to write your own.
1. Six lines = six strings
The six horizontal lines in TAB are simply the six strings of the guitar. Holding the guitar in playing position:
- the bottom line is the thickest string — the 6th string (low E)
- the top line is the thinnest string — the 1st string (high e)
“Upside down for a piece of notation?” Maybe — but look down at your hands while holding the guitar and the thick string is closest to you (at the bottom). The layout matches what you see.
Press “Play it” below and the open strings sound from the 6th up to the 1st. Watch the line (top to bottom) and listen to the pitch — let your eyes and ears confirm it together. You can also tap each number one at a time to check which line makes which sound, with your own finger.
Tap any number in the TAB to hear just that note and see it light up on the fretboard.
The number 0 means an open string — play the string without pressing any fret at all.
2. Numbers are “which fret to press”
A number written on a line tells you which fret to press on that string.
0= open string (press nothing)1= 1st fret3= 3rd fret
That’s the whole idea. The bigger the number, the further the fret sits from the nut (toward the body), and the higher the pitch.
The diagram below stays on one string (the 3rd) and changes only the number. Tap the numbers and compare: as the number grows, the pressed position moves toward the body and the pitch climbs — and the glowing spot on the fretboard below moves with it.
Tap any number in the TAB to hear just that note and see it light up on the fretboard.
You can now read which string, and which fret straight off the TAB. That’s essentially all of it.
3. Left to right = time. Stacked = at the same moment
TAB is read left to right as time moves forward. The far left is the start; the further right you go, the later the note.
The thing to watch is how the numbers line up.
- Numbers stacked vertically = played together (a chord)
- Numbers spread out horizontally = played one at a time (a melody or arpeggio)
Below, the first column strums a C chord all at once, then the same notes follow one at a time as an arpeggio. The exact same notes are written differently depending on whether you stack them or spread them.
Tap any number in the TAB to hear just that note and see it light up on the fretboard.
“Stacked = together, spread = in turn.” Once that clicks, you can read both chord playing and single-note lines from the same TAB without confusion.
4. The symbols of text-only TAB
TAB you find online comes in two broad kinds: text TAB written entirely in characters — like the snippet at the top of this article — and TAB engraved by notation software. The number rules are identical in both; what differs is how playing techniques are written.
Text TAB squeezes lowercase symbols between the numbers. These three come up constantly:
- h (hammer-on) = tap the fret with a fretting-hand finger to sound the next note
- p (pull-off) = flick the pressing finger off to sound the next note
- / (slide) = keep pressing and glide the finger to the next fret
What they share: none of them is re-picked — you connect from the previous note with your fingers. That’s why the second note sounds a little softer than the first. In the diagram below, check 0h2 (hammer 0→2), 2p0 (pull 2→0), and 5/7 (slide 5→7) with your ears and eyes — while it plays, the name of the technique is shown, and a finger on the fretboard acts out each move: tap down, flick off, glide.
Tap any number in the TAB to hear just that note and see it light up on the fretboard.
In engraved TAB, the same techniques are written not as letters but as curves connecting the notes (slurs) and slanted lines — that’s what’s drawn over the numbers in the diagram above. The meaning is identical, so you can now read either style.
Here are the other text-TAB symbols worth knowing so they never trip you up:
| Symbol | Meaning |
|---|---|
h | hammer-on |
p | pull-off |
/ | slide up |
\\ | slide down |
b | bend (push the string up to raise the pitch) |
x | mute / dead note (a “chk” with no pitch) |
~ | vibrato |
PM | palm mute (rest the picking-hand edge on the strings) |
You don’t need to memorize them all at once. Come back to this table when one shows up in a song — that’s plenty.
5. The one weakness of TAB — and the fix
You now have the basics down. But TAB has one weakness.
It’s that rhythm (how long each note lasts) is hard to show. TAB tells you where to press perfectly, but it can’t fully express how many beats to hold it. So playing an unfamiliar song from TAB alone, it’s easy to get lost in the rhythm.
The fix: read standard notation and TAB side by side. The staff carries rhythm and pitch, the TAB carries where to press — together there’s nothing left to guess.
Below is a sheet with that exact pairing — staff + TAB + playback — embedded right into this article (it’s the real sheet, not an image). It’s “Ode to Joy,” a tune everyone knows. Press play and a cursor scrolls as it sounds. Follow the TAB numbers with your eyes as you listen.
This is a real notave sheet embedded in the article. Press play, slow the tempo down to check it, or toggle the interval (degree) display — right here on the page.
And here’s the payoff — the “unreadable” numbers from the top of this article, e|---0---0---1---3---|, are the first four notes of this very song. Open string (E, E), 1st fret (F), 3rd fret (G) on the thin e string. What looked like a cipher at the start should now read as playable information.
You don’t have to know how to read the staff. Press the frets exactly as the TAB says, and copy the note lengths you hear on playback — and it becomes a song.
6. Now write your own TAB
Once you can read it, the next step is to write it. “I want to keep a phrase I figured out by ear.” “I want to notate the intro to a song I sing.” Drawing lines on paper and filling in numbers is a pain.
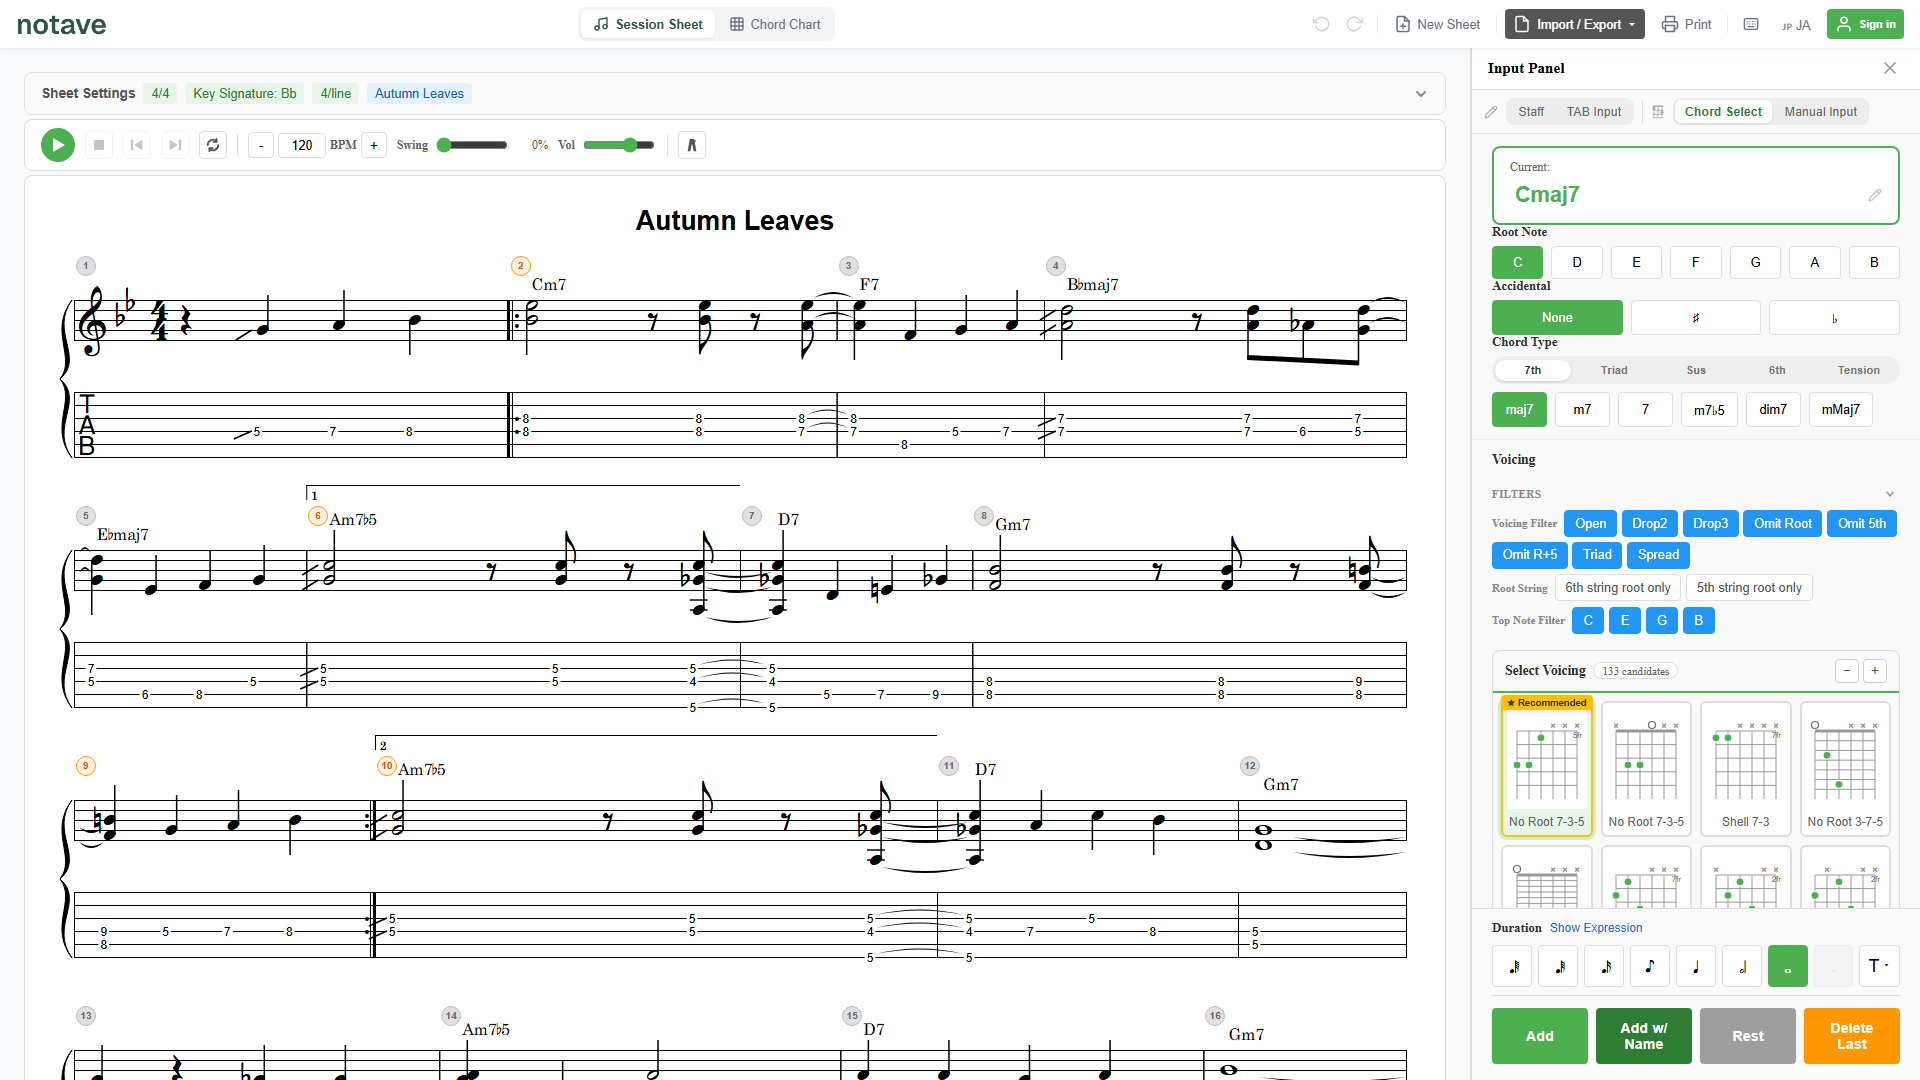
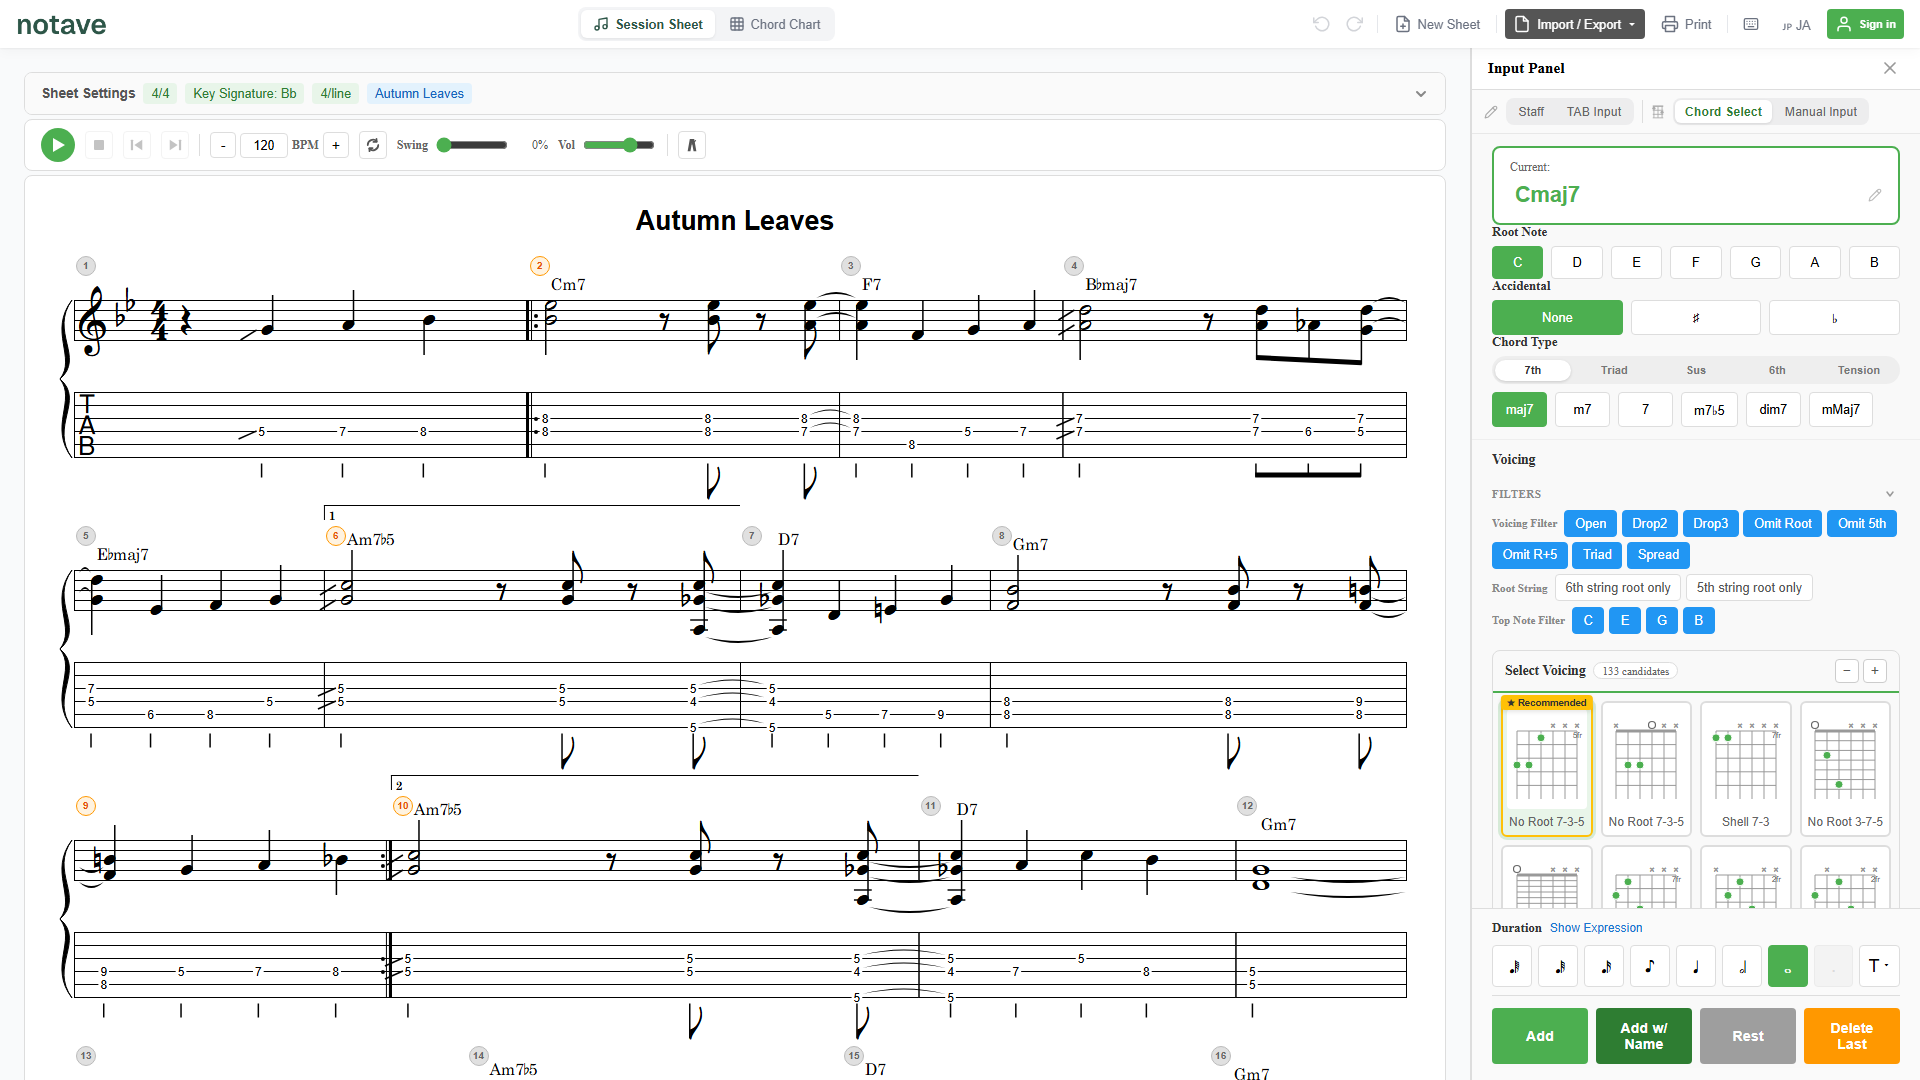
With notave you can build TAB in your browser — no install, and no account to get started. As you enter notes, the staff and TAB are drawn at the same time, cleanly.
There are a few ways to enter notes (see choosing an input mode):
- Chord Select — pick a chord name and candidate voicings (fingerings) line up automatically
- TAB Input — type the string-and-fret numbers directly
- Staff Input — place the pitch and notave assigns where to press it
When standard notation is all you have for a song, How to convert sheet music to guitar TAB is worth a look too.
For example, adding chords to back the melody from section 5 looks like this. The sheet below (also a live notave embed) is C → G → Am → F, a staple progression for singer-songwriters. Each chord name even shows candidate fingerings beneath it, and playback lets you hear the sound.
If you just want to check fingerings, the guitar chord chart lists voicings per chord. For a lyrics-and-chords sheet to sing from, the chord sheet maker is handy too.
A sheet you make can be handed to someone as a share link or embedded in a blog like this article. Unlike a screenshot, you pass along the real sheet — one the other person can play and edit too.
7. Tips for getting better
- Start slow. Drop the tempo way down and focus only on pressing the right numbers cleanly. Speed comes later. If rhythm feels shaky, play along with a metronome.
- Learn chord shapes separately. TAB can show chords as stacked numbers, but the common open chords are faster to learn as shapes. See open-chord embellishment techniques too.
- Once you can read, write right away. Figure out one phrase from a song by ear and enter it into notave — connecting “read” and “write” locks it in fast.
Summary
Guitar TAB is the friendliest notation around, with only three things to learn.
- Six lines = six strings (thick 6th on the bottom, thin 1st on top; 0 is open)
- Numbers are which fret to press (bigger = higher pitch)
- Time runs left to right (stacked = together, spread = one at a time)
Symbols like h, p, and / are the cue to “connect with your fingers, don’t re-pick.” And when rhythm is uncertain, reading it paired with the staff removes the guesswork.
Once you can read it, try writing some yourself. At notave.zelva.dev you can make a staff-and-TAB sheet right now in the browser — no sign-up, no install. Start with one phrase of a song you love.